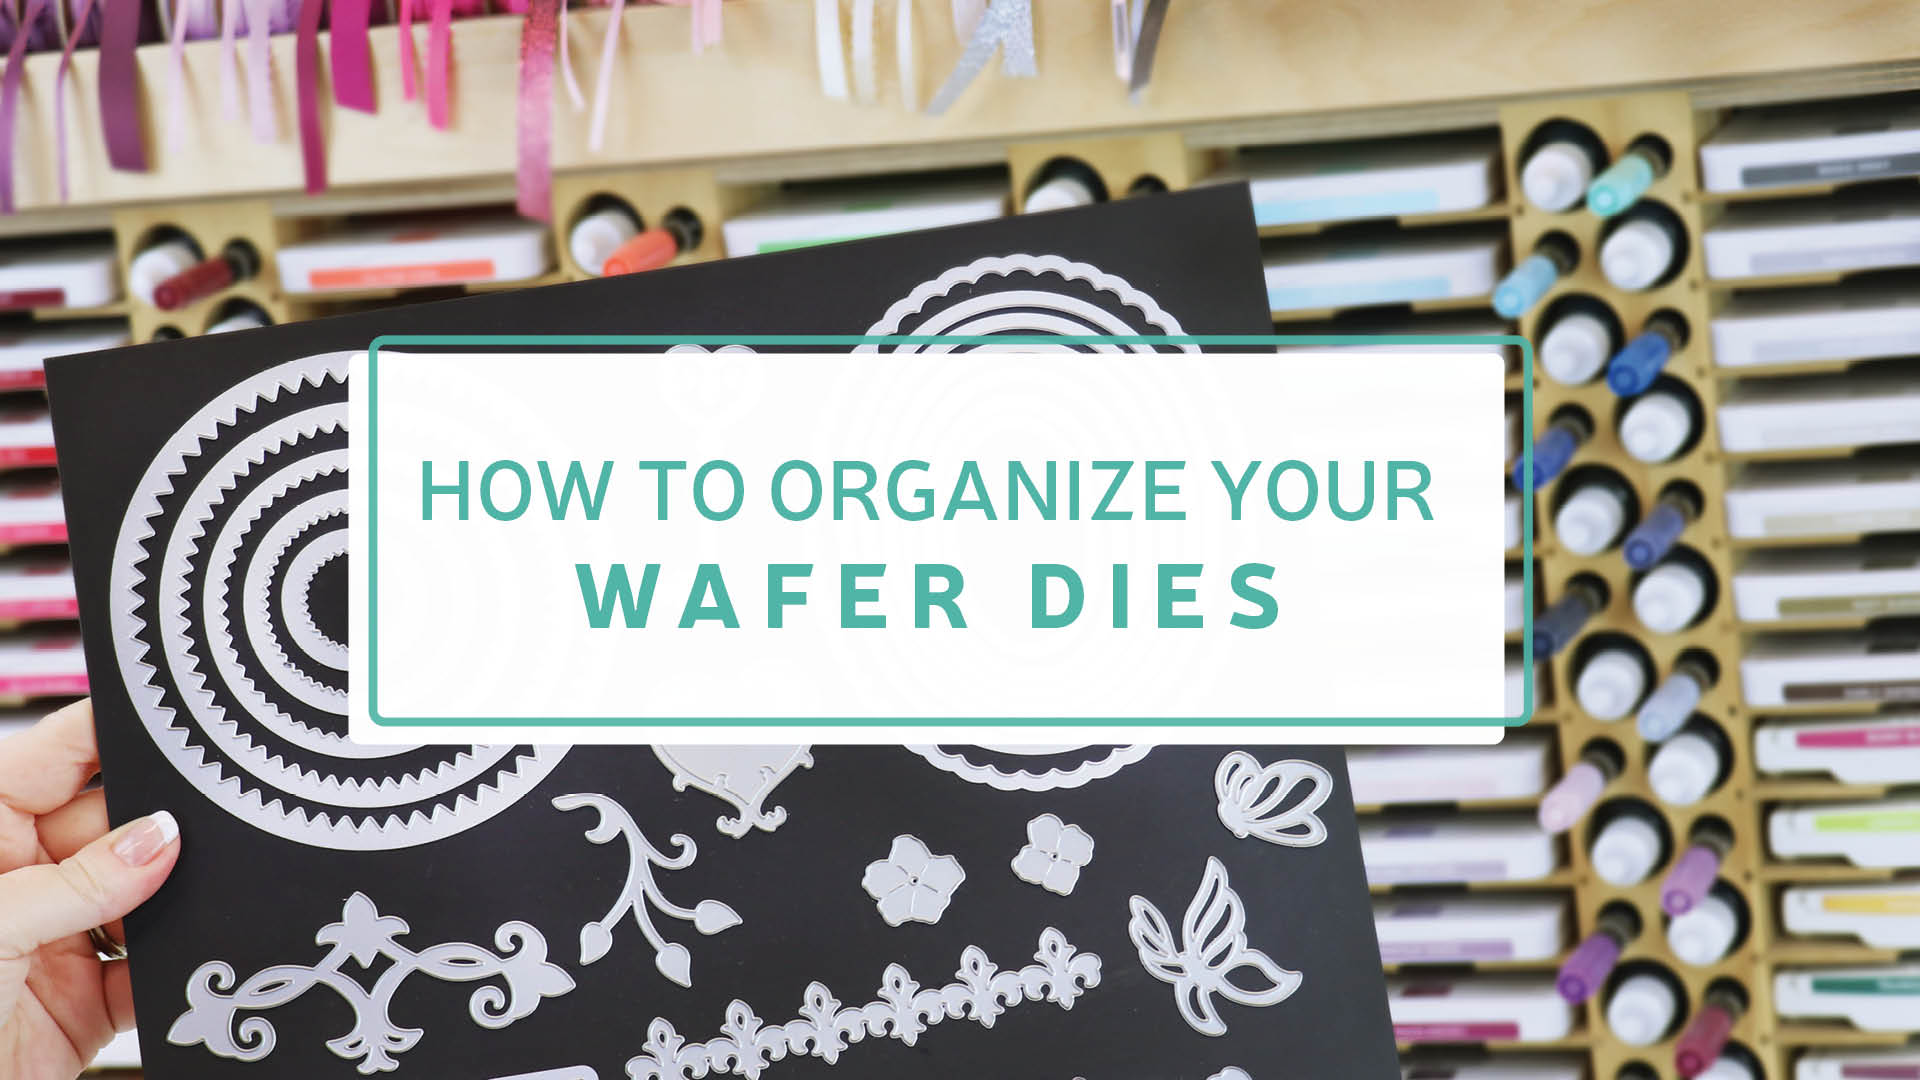
How to Organize Your Wafer Dies
Wafer dies are a favorite tool for many paper crafters, offering endless creative possibilities. Whether you're creating a delicate floral design or a whimsical animal scene, these versatile tools cater to every occasion and theme. However, as your collection grows, so does the challenge of keeping them organized. Without a good system, chaos can easily take over your craft space. But with a few simple tips, you can transform that chaos into order.
1. Gather all your Wafer Dies
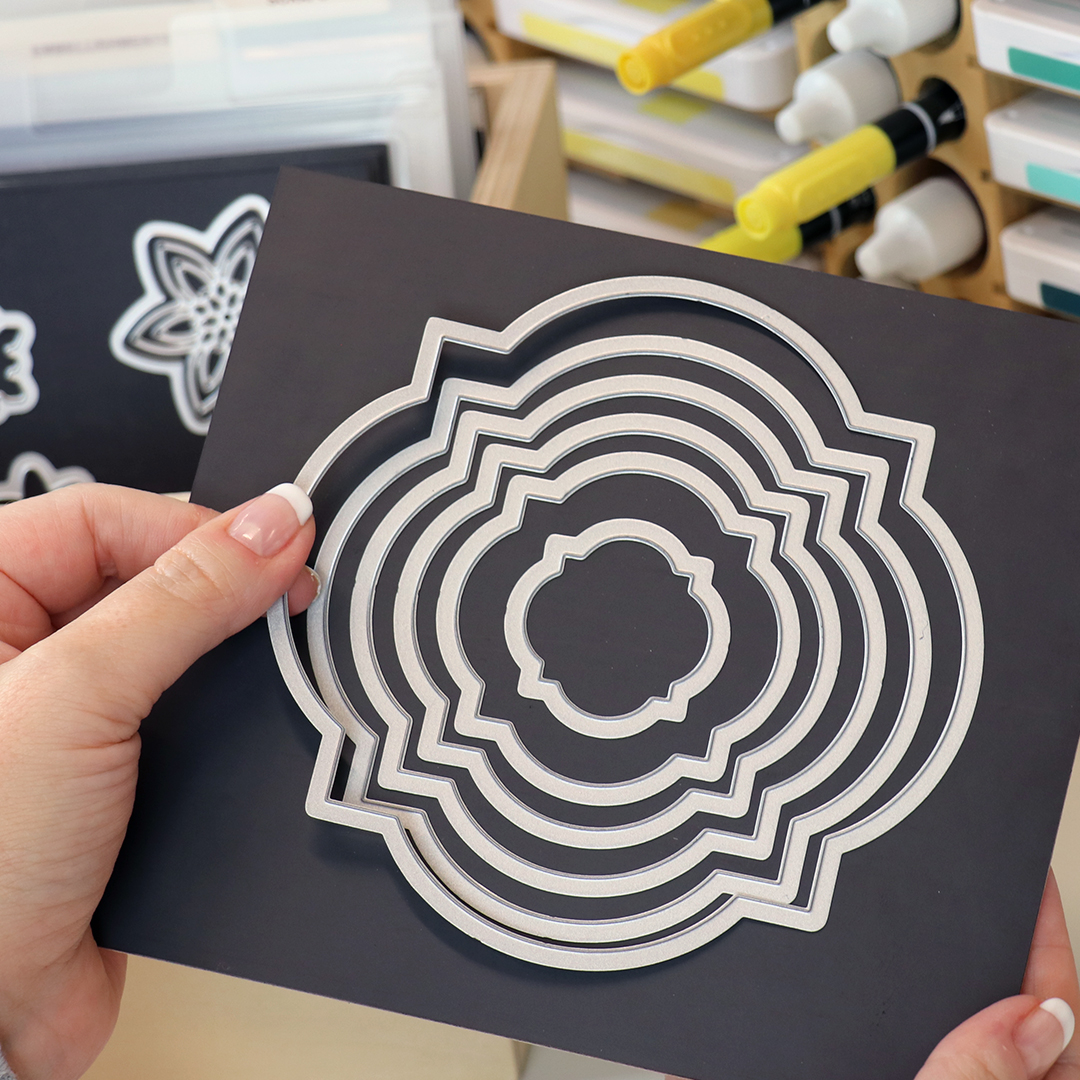
If you have a scattered collection of wafer dies in your craft room, gather them all into one designated spot. As you collect your supplies, consider setting aside any dies that no longer inspire you or that you know you will not be using again. Ideally, you want to keep similar items next to each other. You can’t properly organize your collection if you don’t know what you have.
2. Begin to Sort
Organizing your wafer dies should be personalized to your craft style - choose the process that makes the most sense for you. Choose to sort either by brand or category.
Brand:
If you choose to sort by brand, place all your dies into categories by brand. Once you have done that, you can sort all your dies into different categories (keeping them within their respective brands). For example, if you chose to sort by brand, you would put your items into categories such as Altenew, Gina K. Designs, and Lawn Fawn. Then, in each pile, you would organize by category (holiday, words, flowers, etc.).
Category:
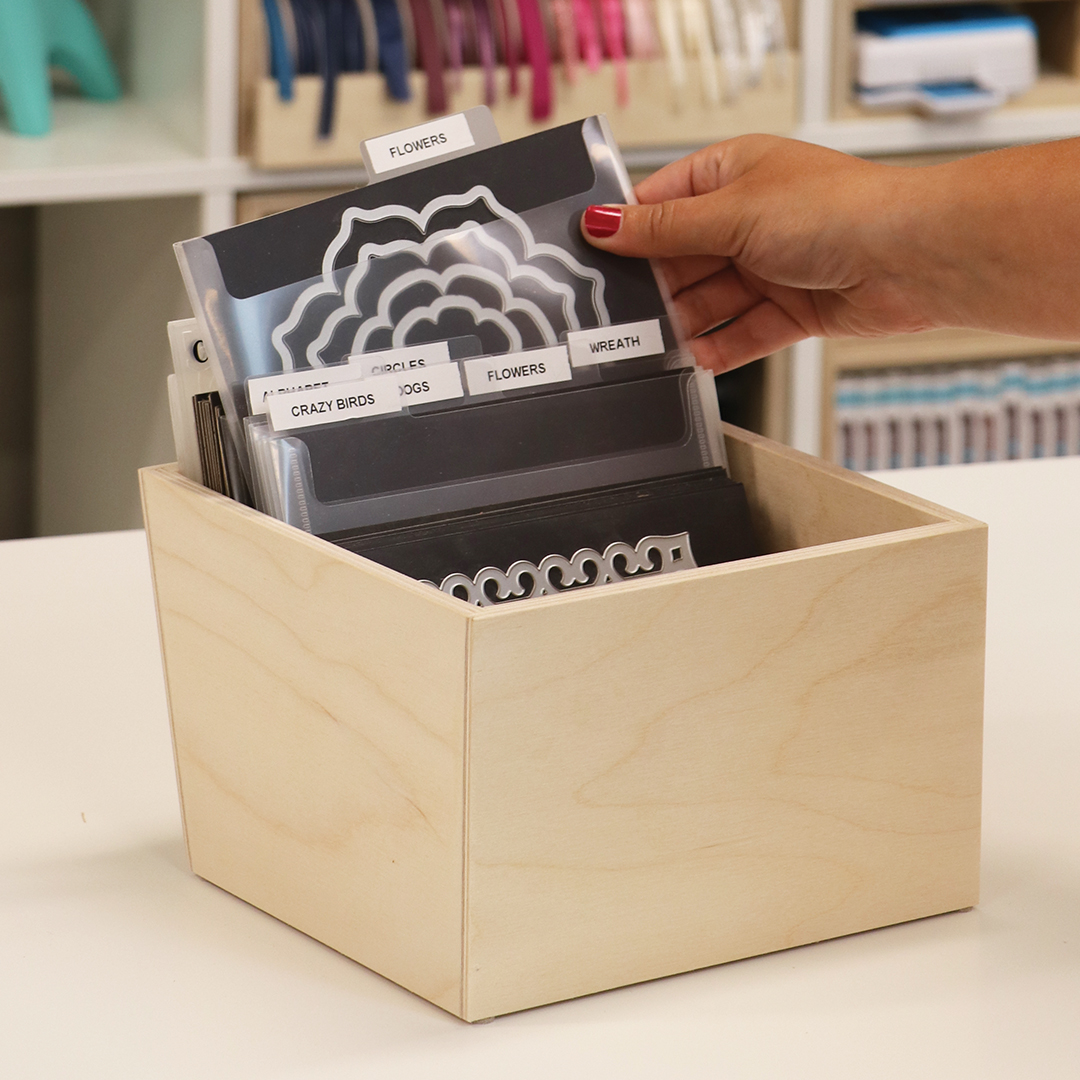
If you are sorting by category, grab all your wafer dies and place them in different categories. This strategy keeps all the brands together. There is no one-size-fits-all approach to organizing your dies. Do what makes the most sense for you and what helps you maximize space and organization in your craft room. As you sort into categories, use a pen and sticky notes to label each category. These do not have to be your final categories - go with your instinct. You can always change your categories later if you need to adjust. If you have an overly large pile, it is helpful to break it down into more specific categories. Such as holidays, you could sort it by Christmas, Easter, Valentine's Day, etc.
A list of suggested categories:
- Alphabets
- Animals & Pets
- Birthdays
- Borders
- Celebrations
- Christmas & Winter
- Cooking
- Easter & Spring
- Fall
- Floral
- Food
- Halloween
- Household
- Landscapes
- Love & Valentines
- Nature
- Nesting
- People
- Sentiments
- Shapes
- Sky
- Thank you
- Travel and Vacation
3. Pick your Storage Solutions
1. In a Crate
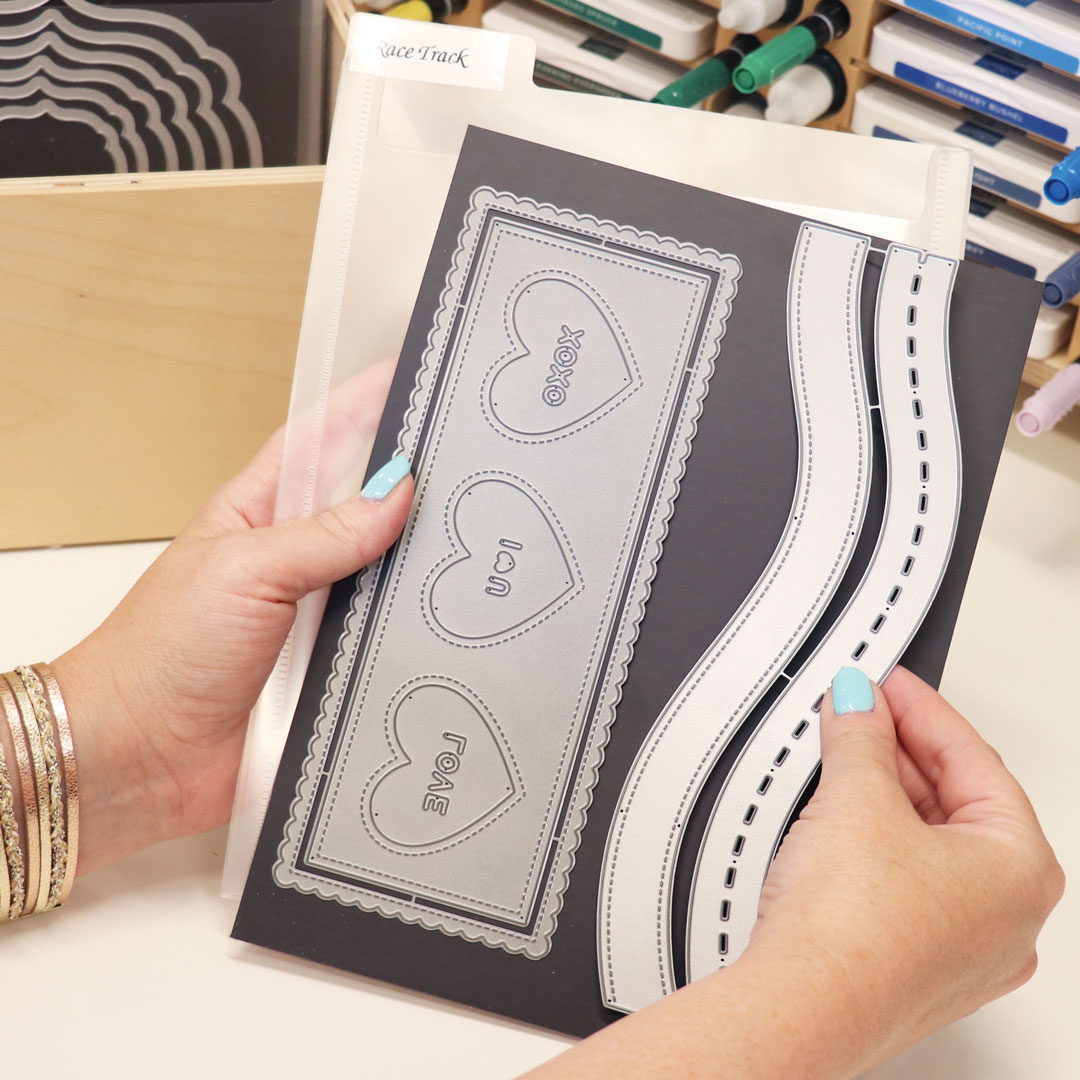
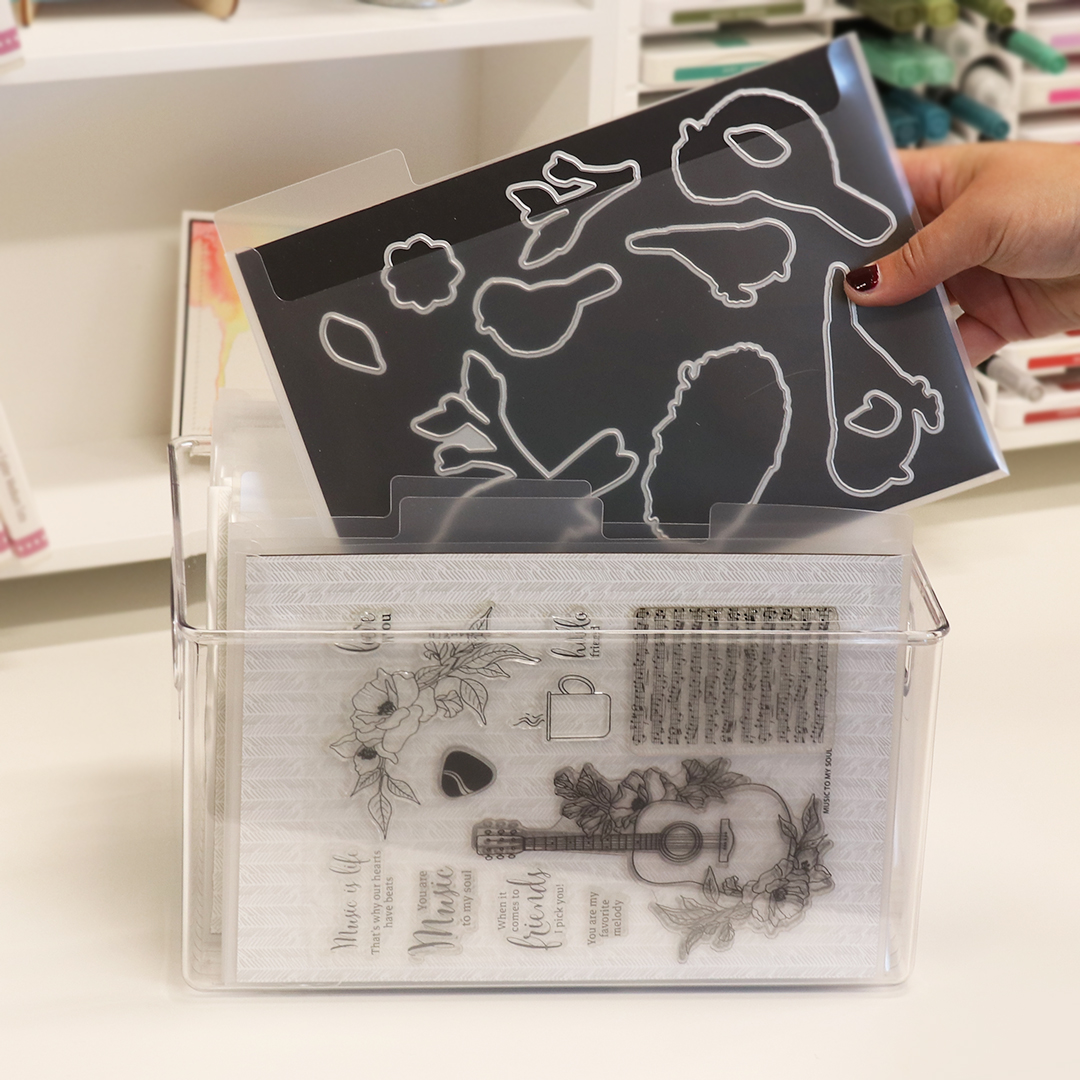
A crate system is an excellent solution for storing your wafer dies effectively. Keeping your dies next to your cutting machine on a desk or table ensures they are always within reach when needed. Combine the Creative Crate or Acrylic Crate with Magnet Cards, Storage Pockets, and Crate Dividers for a comprehensive organization system. With this setup, your wafer dies are neatly organized and conveniently labeled for quick identification and easy access during crafting sessions. This system not only keeps your workspace tidy but also adds a touch of creativity and personalization to your crafting area.
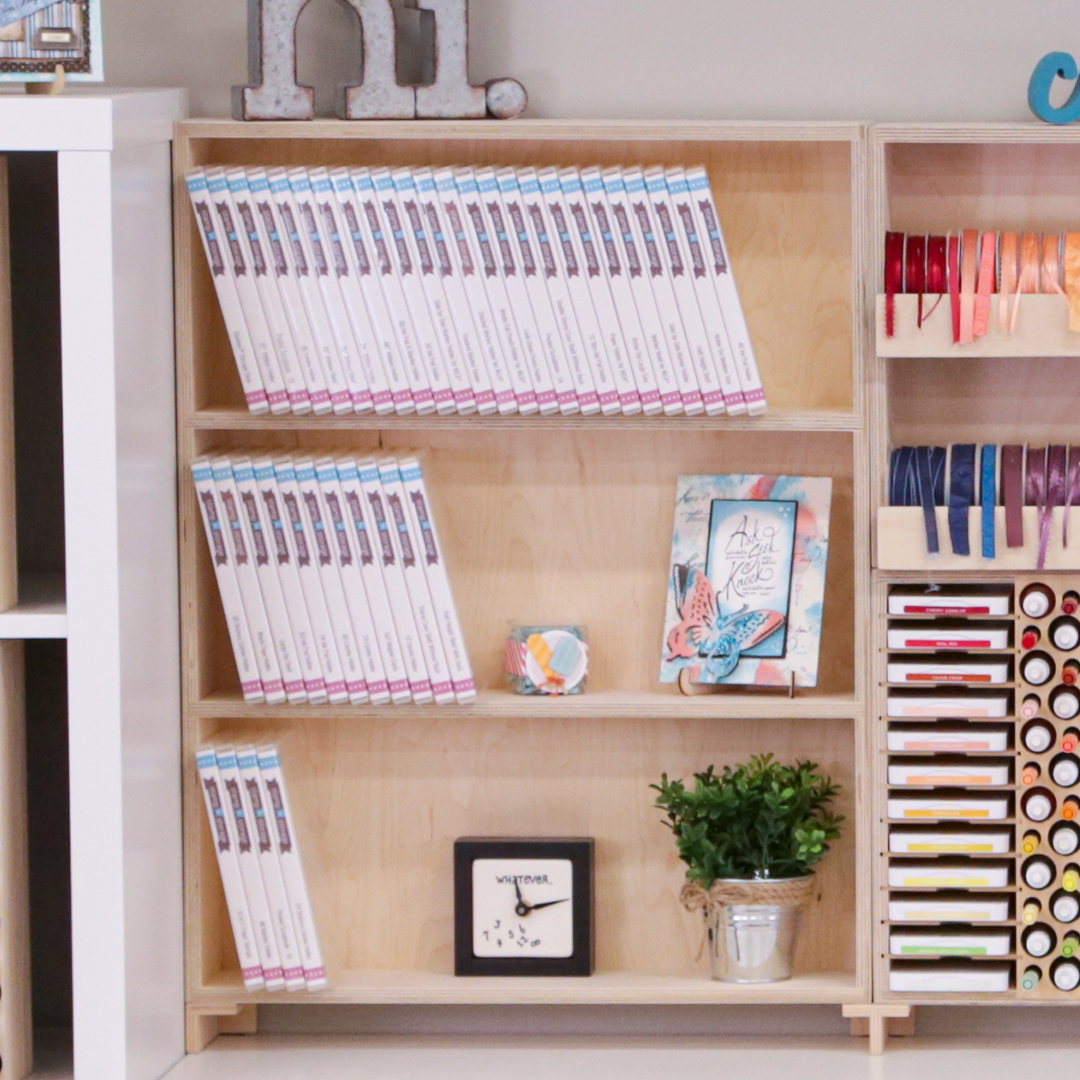
2. On a Shelf
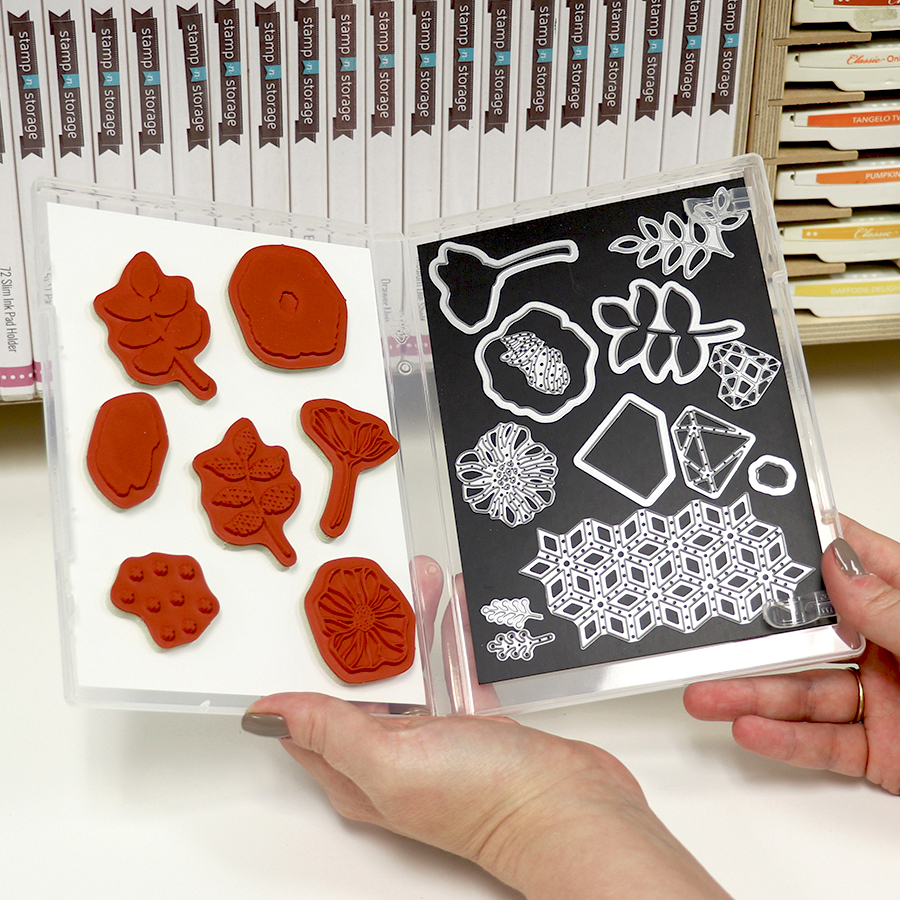
Organize your wafer dies in a Stamp-n-Die Bundle and keep the matching stamps with them using this method. Each case contains one 5"x7" Magnet Card (actual size: 4-7/8" x 6-3/4") with decorative backing and is designed to organize and store stamps and the matching steel wafer dies. Just place your clear or cling stamps on the inside of the case cover, and store your wafer dies on the magnet card. The stamp storage case is the perfect size to store on any of our Stamp Case Shelves.
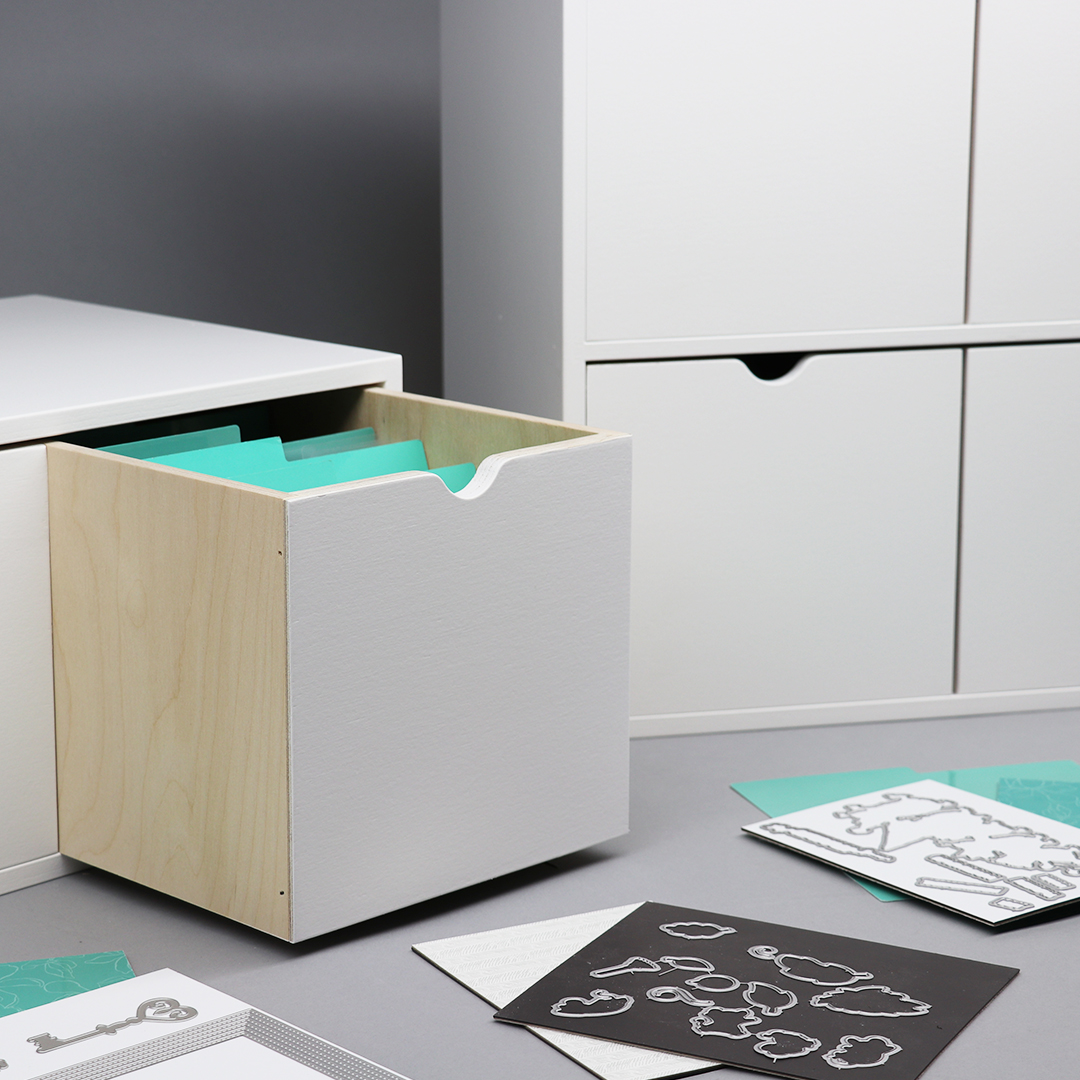
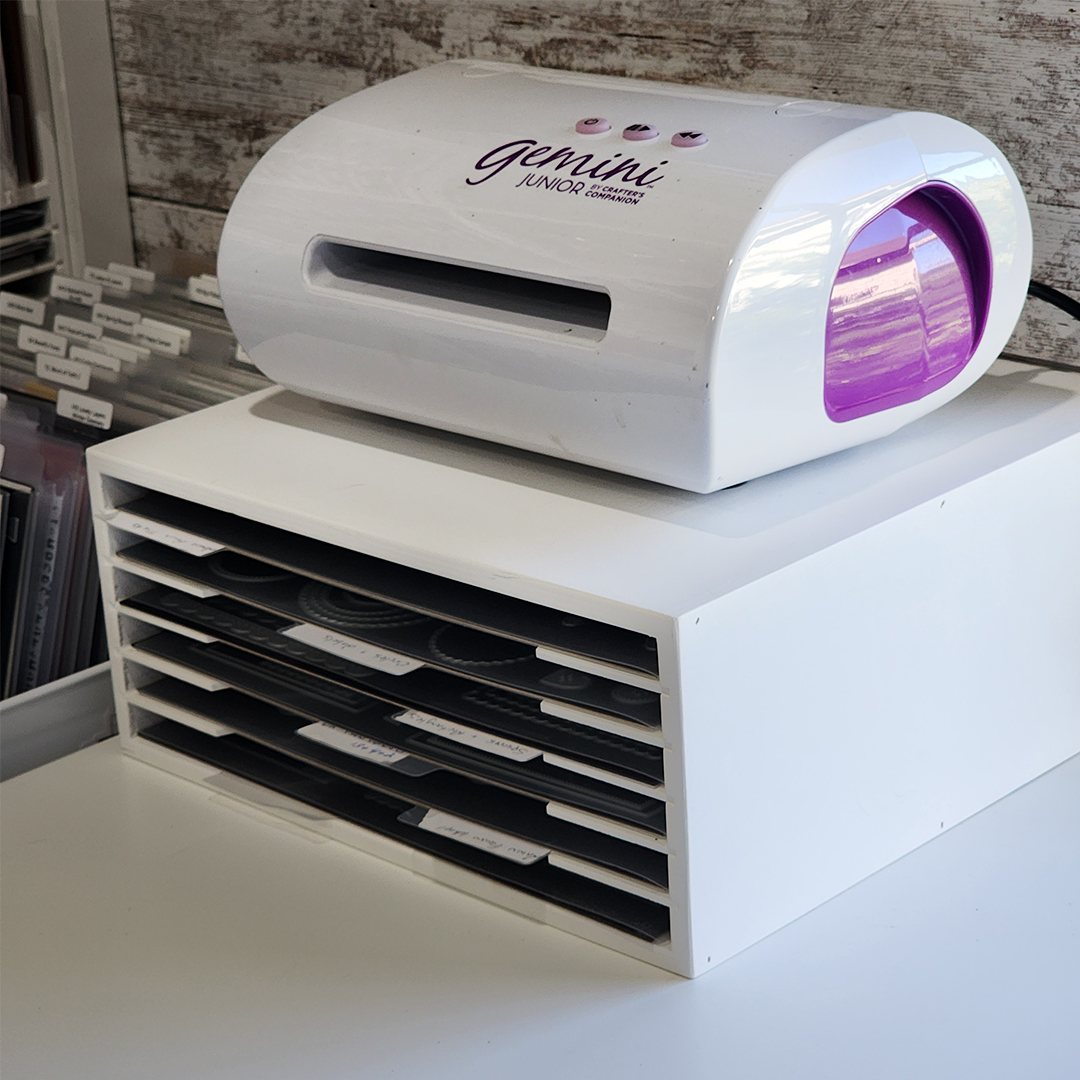
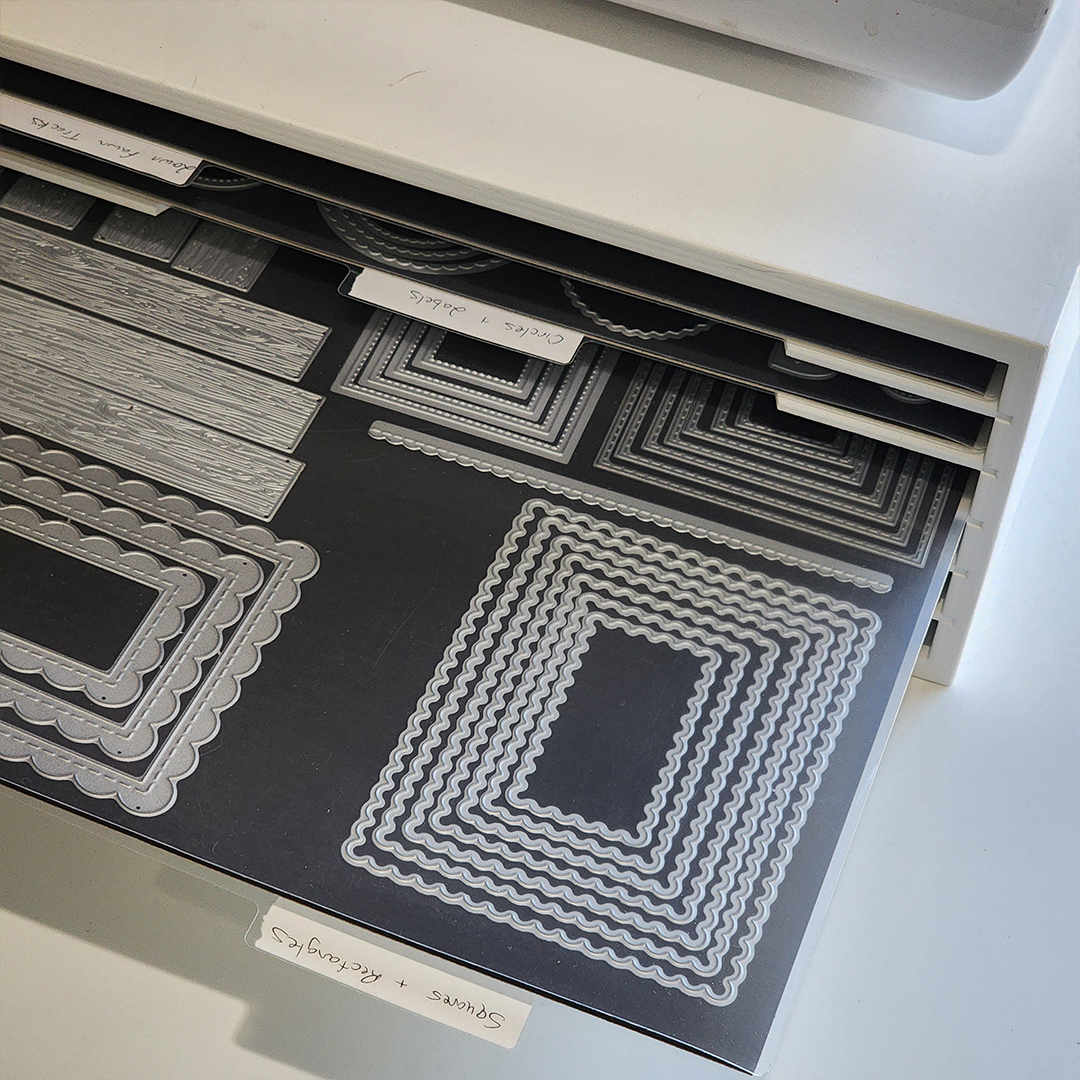
3. In a Drawer
Keep your wafer dies in a 6x7 Drawer Cabinet. The Drawer Cabinet was specifically designed to store your stamps and dies! Place your wafer dies on a 6x7 Magnet Card and store them in a drawer. If you want to enhance your organization, place your Magnet Cards in a Storage Pocket and use Crate Dividers to add another level of organization. The Drawer Cabinet for 6x7 is the ultimate storage solution for stamps, dies, stencils, and an array of crafting essentials. Each drawer has an internal dimension of 7-1/2” tall, 7-1/2” wide, and 10-1/2” deep.
4. Outside of the Box
The 12x12 Paper Holder Add-On doesn't just have to be for your paper. The Paper Holder Add-On makes an excellent spot to hold your wafer dies. Place your dies on a 12x12 Magnet Card and store them in a 12x12 Paper Sleeve, then set them in your Paper Holder Add-on. It is a great way to store your most used dies like stackable shapes that don't coordinate with a stamp set.The shorter height provides a great platform to add your die cutting machine on top!
12x12 Add-on Paper Holder for 6x6, 12x12 Magnet Card, and 12x12 Paper Sleeve
4. Use Labels
Once you have everything sorted, organized, and placed in their designated spots, it is time to label them. A label maker can be a quick and easy way to label your dies. If you don’t have one, you can print labels instead. Avery.com is a great resource for customizing and printing labels. Label your items by brand, season, theme, words, flowers, food, or any category you've chosen.
5. Inventory your supplies
Another helpful tip is to keep an inventory of your wafer dies. This serves two purposes:
- Avoiding Duplicates: Maintaining a list helps you avoid purchasing duplicate dies.
- Organizational Aid: A running list can also help you remember the categories you have organized your supplies under, although your organization system should ideally be clear and easily accessible without it.
You can keep this list in whatever way you want, either digitally or by pen and paper. Create an online document or use software such as Evernote or Notion. If you are a spreadsheet kinda person, this would be the perfect project. There are many ways to keep track of what you have, do what works best for you.