5 Tips for Keeping Your Space Organized

Crafting can be a fun and relaxing hobby, but it is easy for supplies to pile up and clutter your space. Workspaces can become cluttered with tools overtaking your surface and leaving no room to craft. Establishing and maintaining an organized craft space is crucial for sparking creativity. An organized space is only successful if it can be maintained. How can you maintain an organized craft space? Below are some of our favorite tips for keeping your craft space organized while you craft.
Implement the Right Organization Strategy
1. Eliminate Unnecessary Items
If you have been crafting for a while, chances are you have some supplies sitting around that you no longer use—items not being used or broken add clutter to your space. Regularly take time to sort through your supplies and eliminate unnecessary items. Consider donating or selling items that are not getting used in your craft space. When you periodically sort through your supplies, you are not just decluttering your craft space, you are also making sure to only hang onto items you use.
2. Clean as You Go
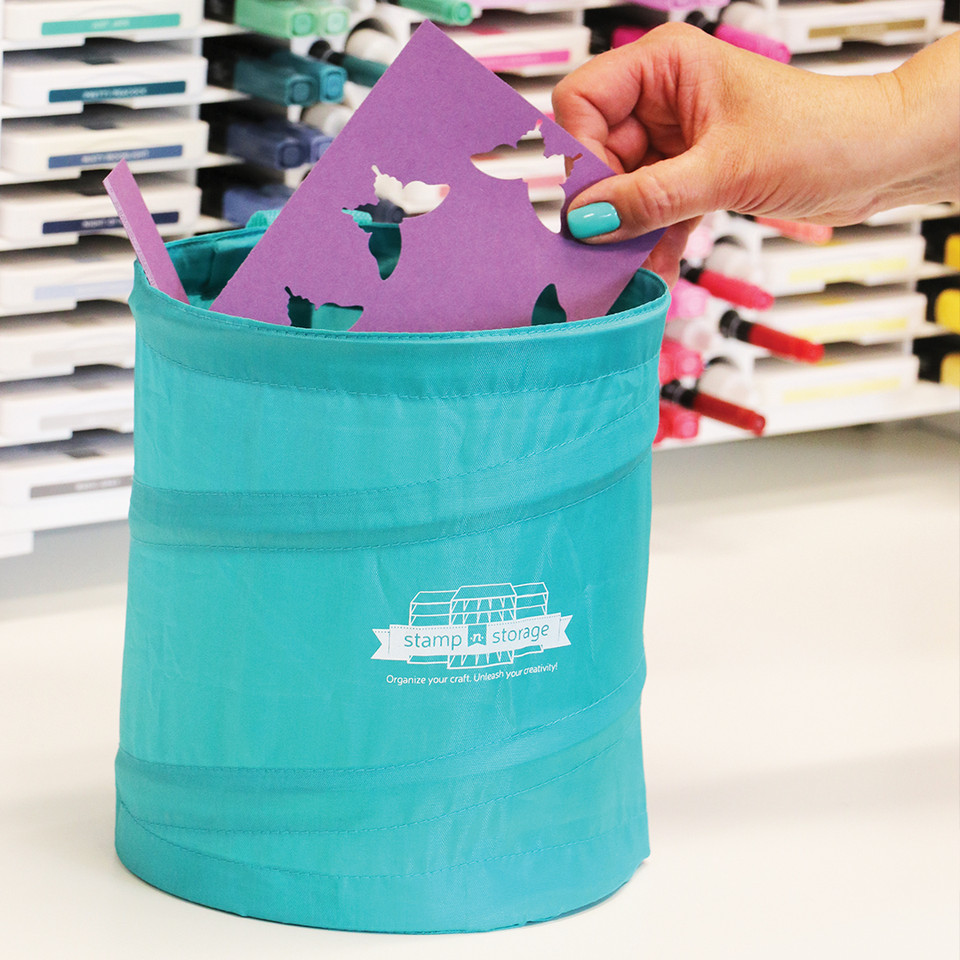
Cleaning as you go is a fantastic strategy for maintaining an organized workspace. Take a few moments throughout crafting to pause and tidy up your space. Keep a trash can near your workstation to throw garbage away as you craft. Doing this eliminates clutter right away and makes clean-up easier. It is a simple yet effective way to keep your space organized. Consider placing a Pop-Up Waste Basket within hands reach so you can immediately get rid of all those tiny scraps.
3. Read Your Labels
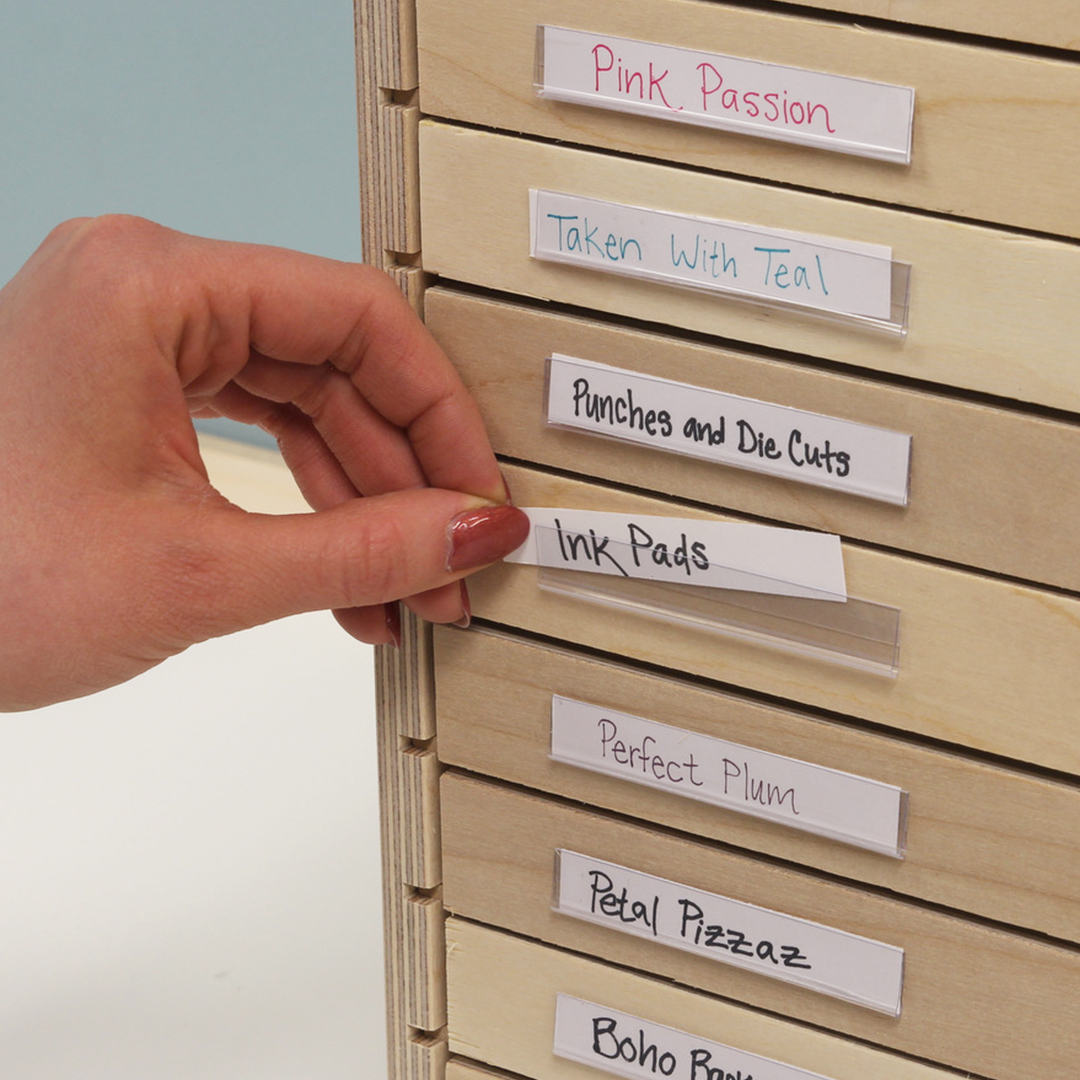
Reading your labels is like following the rules of your craft room. When you create and use labels, you are establishing a designated place for all your items, which can significantly reduce clutter. Labels help maintain order in your craft room and make it easy to find where things are and where things belong. Take the time to label your storage containers and follow your label system to keep your craft room organized while you craft.
4. Implement a Modular Desk Organizational System
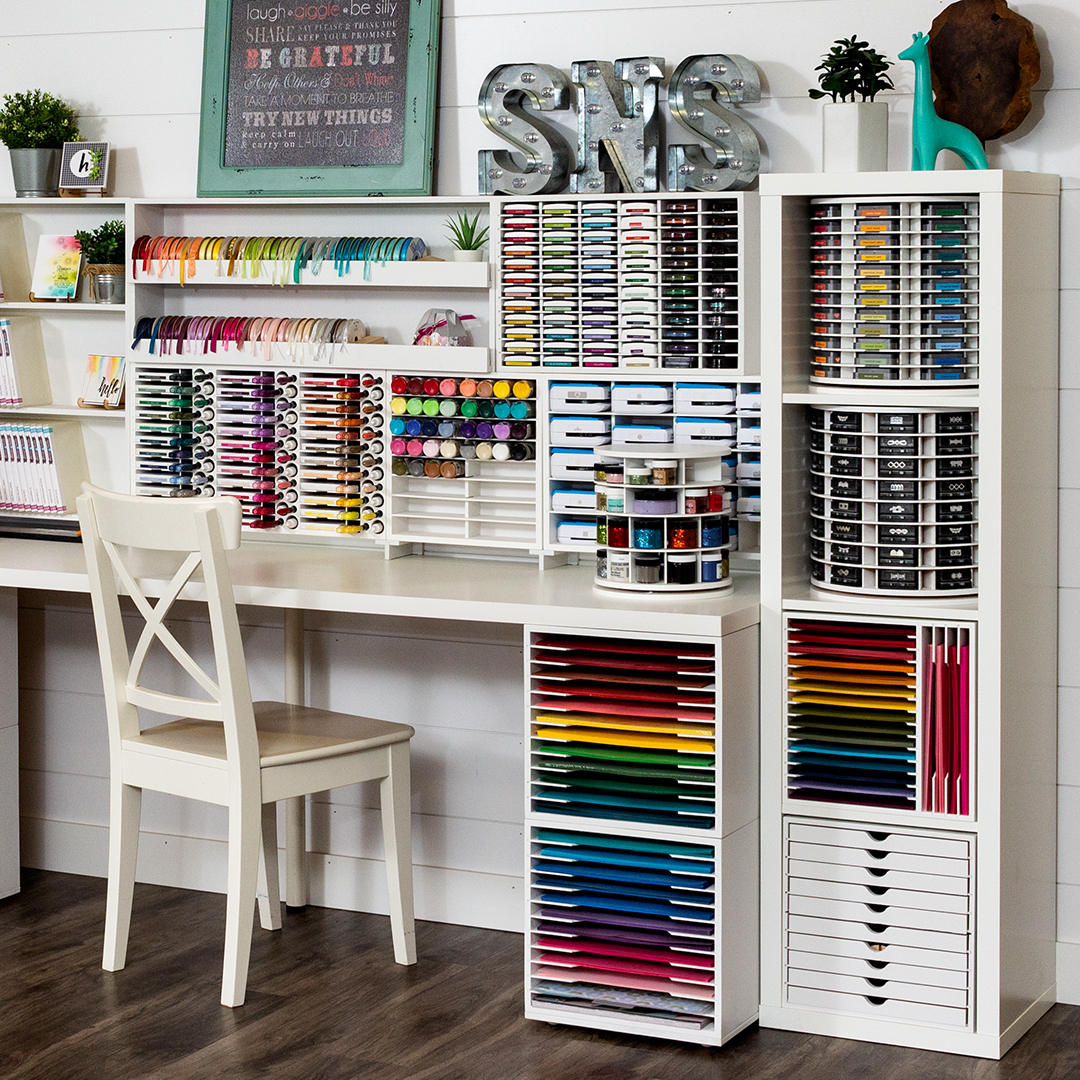
Enhance your desk workspace by incorporating a modular desk organizational system that can be customized to fit your specific crafting needs. Choose components like ink pad storage, punch storage, and embellishment storage, or storage for your most used supplies. An organizational system like Stamp-n-Storage allows you to adjust the layout as your crafting tools and projects change, ensuring that everything you need is organized and within easy reach. This adaptability helps maintain a tidy workspace and makes it easier to clean up after each crafting session.
5. Put Your Supplies Away as Soon as You Finish Using Them
It’s a simple habit that can prevent clutter from building up and it makes it easier to find what you need for your next step. When everything has a home or a designated spot, you will always know where to find it and put it away. Doing this leaves no room for clutter build-up.
Using the right storage solutions in your craft room is an important key when it comes to having a spot for your craft supplies.
Here are just a few options that allow you to put things away as you unleash your creativity, and keep you highly organized before, during, and after your creative project!
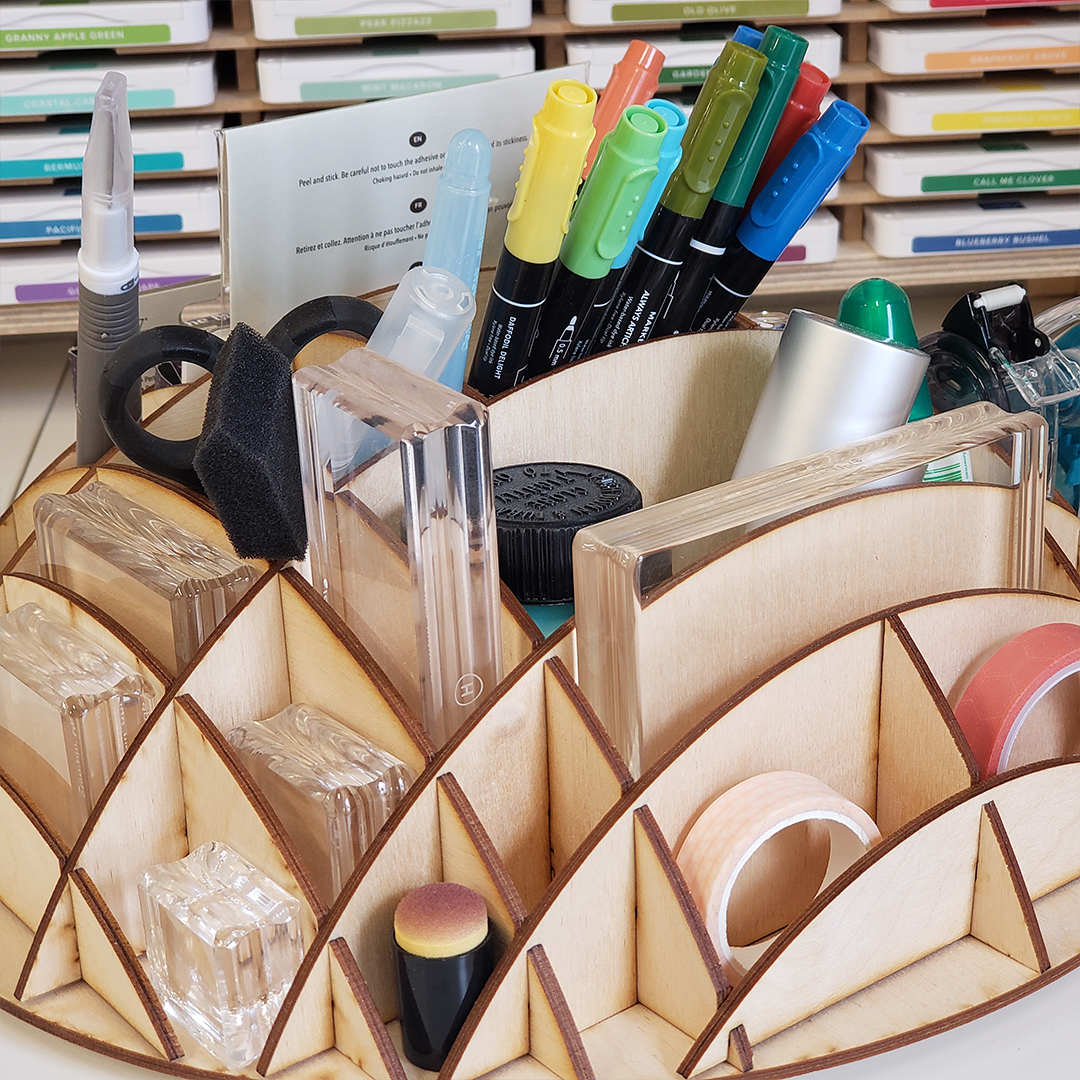
The Craft Caddy or Desk Caddy
Use a Craft Caddy or Desk Caddy in your workspace to keep your most used supplies nearby. It leaves a small footprint on your desk, but helps keep your tools neatly organized. The Craft Caddy and Small and Large Desk Caddy features a 360-degree base, allowing you to spin it around effortlessly to store the tool you just used and quickly grab the next one you need. The Desk Caddy Slim is a great option for shallow spaces or if you want to stack it on top of a Standard Ink Pad Holder. Once you are finished with your tool, be sure to place it back in its spot in your Caddy and not just on your desk.
Keep Your Inks Reachable with the Right Ink Pad Storage
Keep your ink pads in a visible storage solution so you can easily find your inks and put them away when you are done. If your workspace allows it, having your inks directly in front of you, or within hands reach, is a great option! This way you don’t have to leave your inks sitting out on your workspace creating clutter during a project. Instead, you can take an ink pad out, use it, and then immediately store it back in its slot keeping your workspace clutter free.
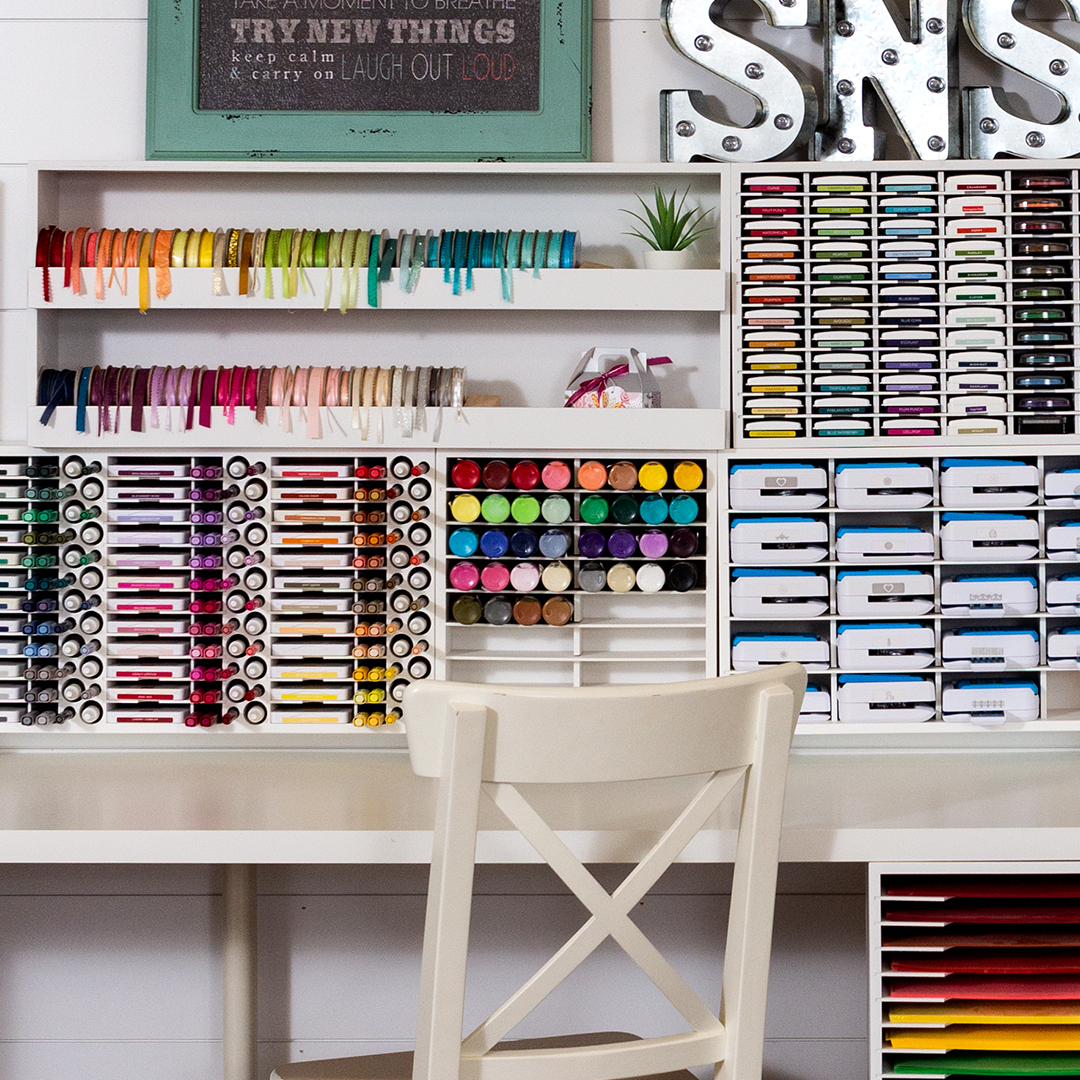
Ink Storage in front of your work area
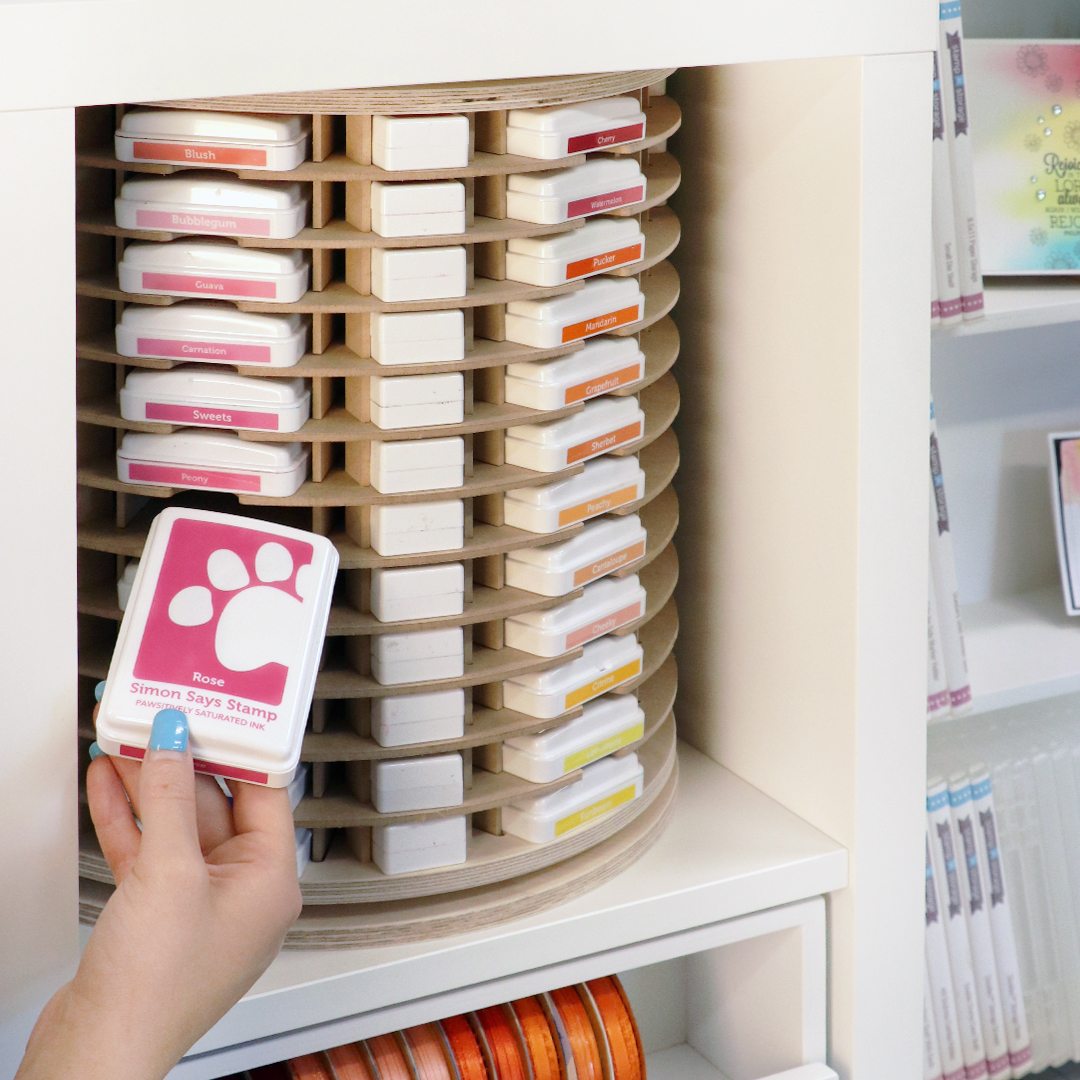
72 Ink Pad & Cube Carousel for Slim kept within hands reach
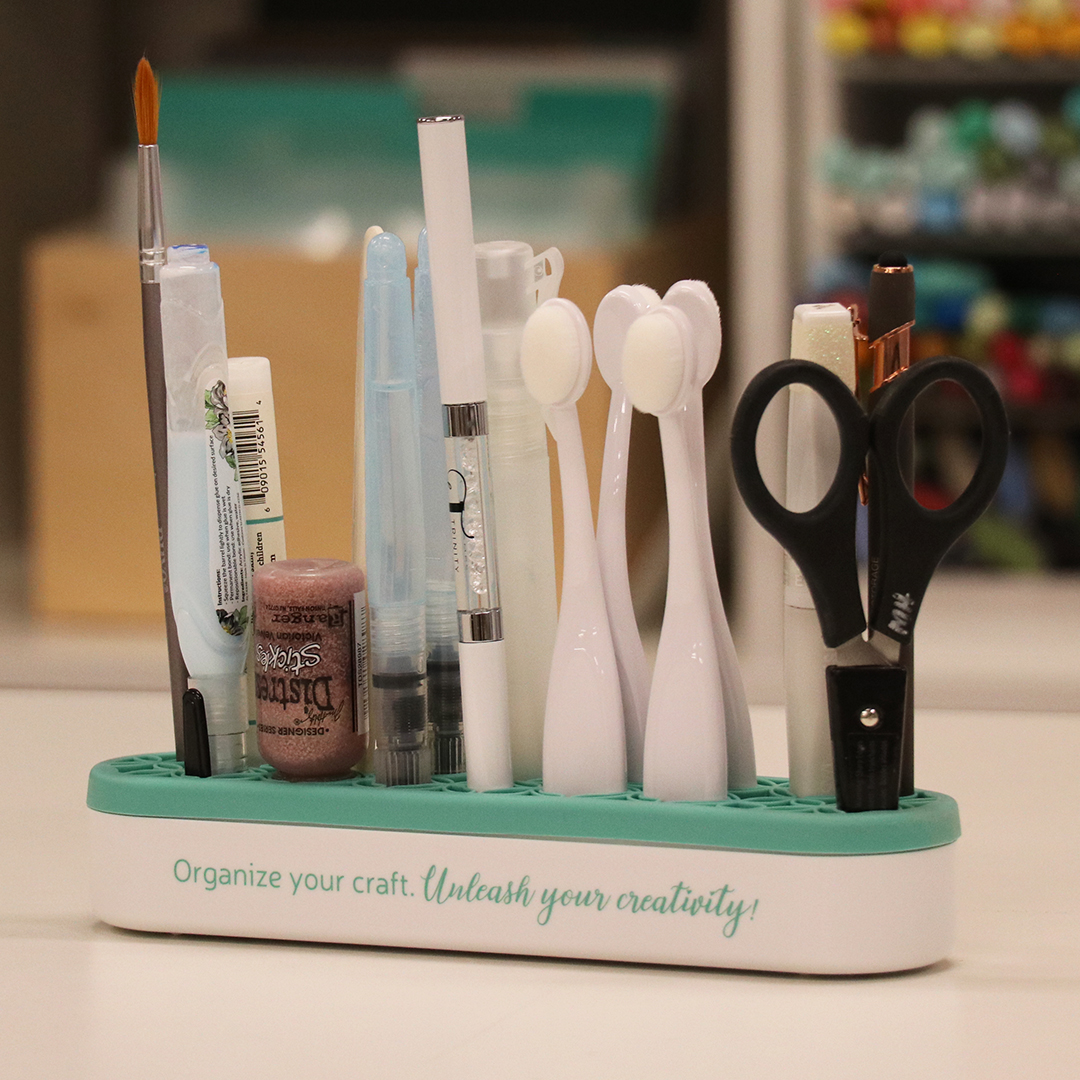
Have a Spot for Tools with the Tool Tray
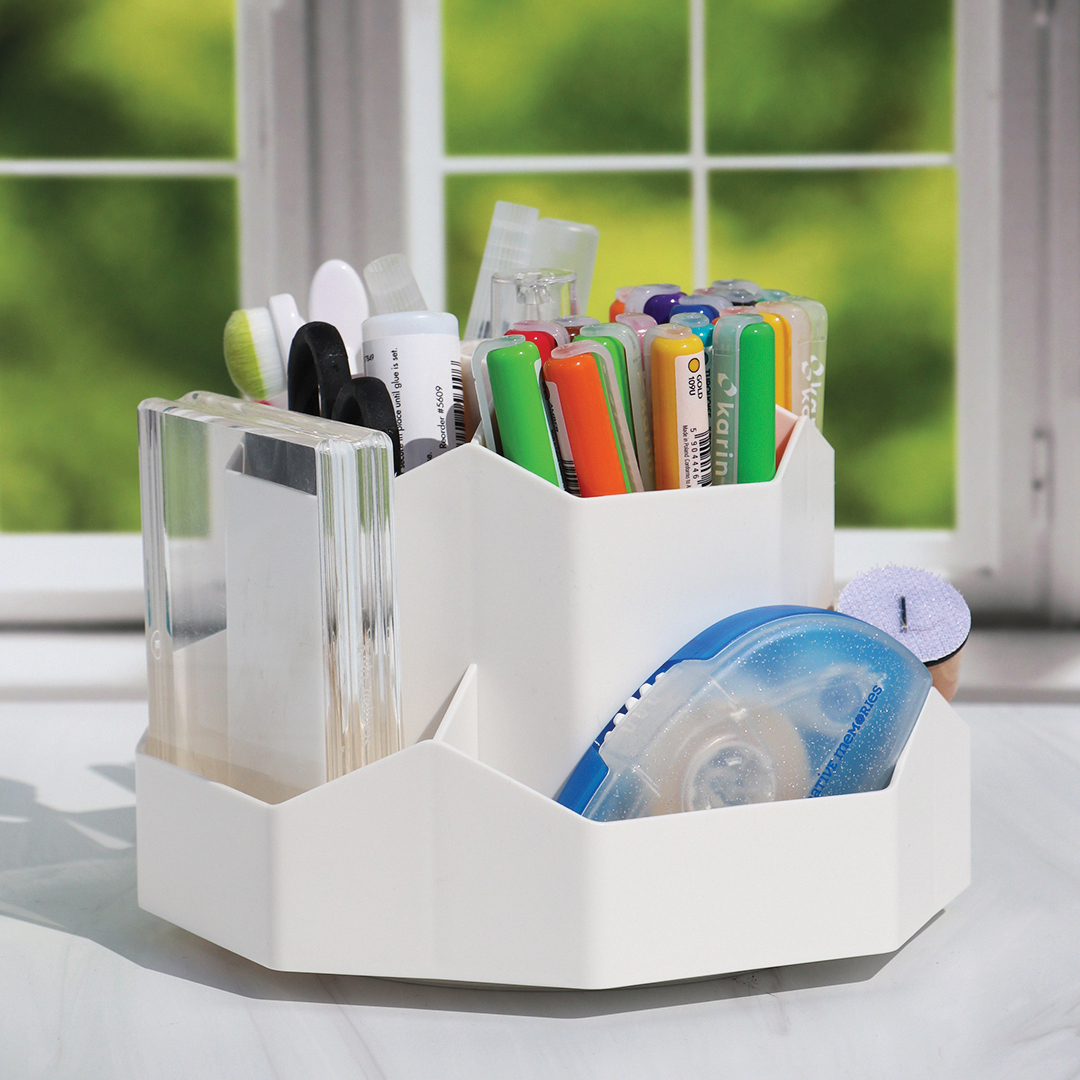
Do you change up what tools you use based on your project? Do you find yourself searching for your scissors or that paintbrush you know was just in front of you? If so, consider keeping a Tool Tray in your space. This small storage solution serves a great purpose! It keeps all of those frequently used tools in front of you and secure at all times. No more searching for blending brushes, glue sticks, or your scissors. It will be neatly stored in the Tool Tray.
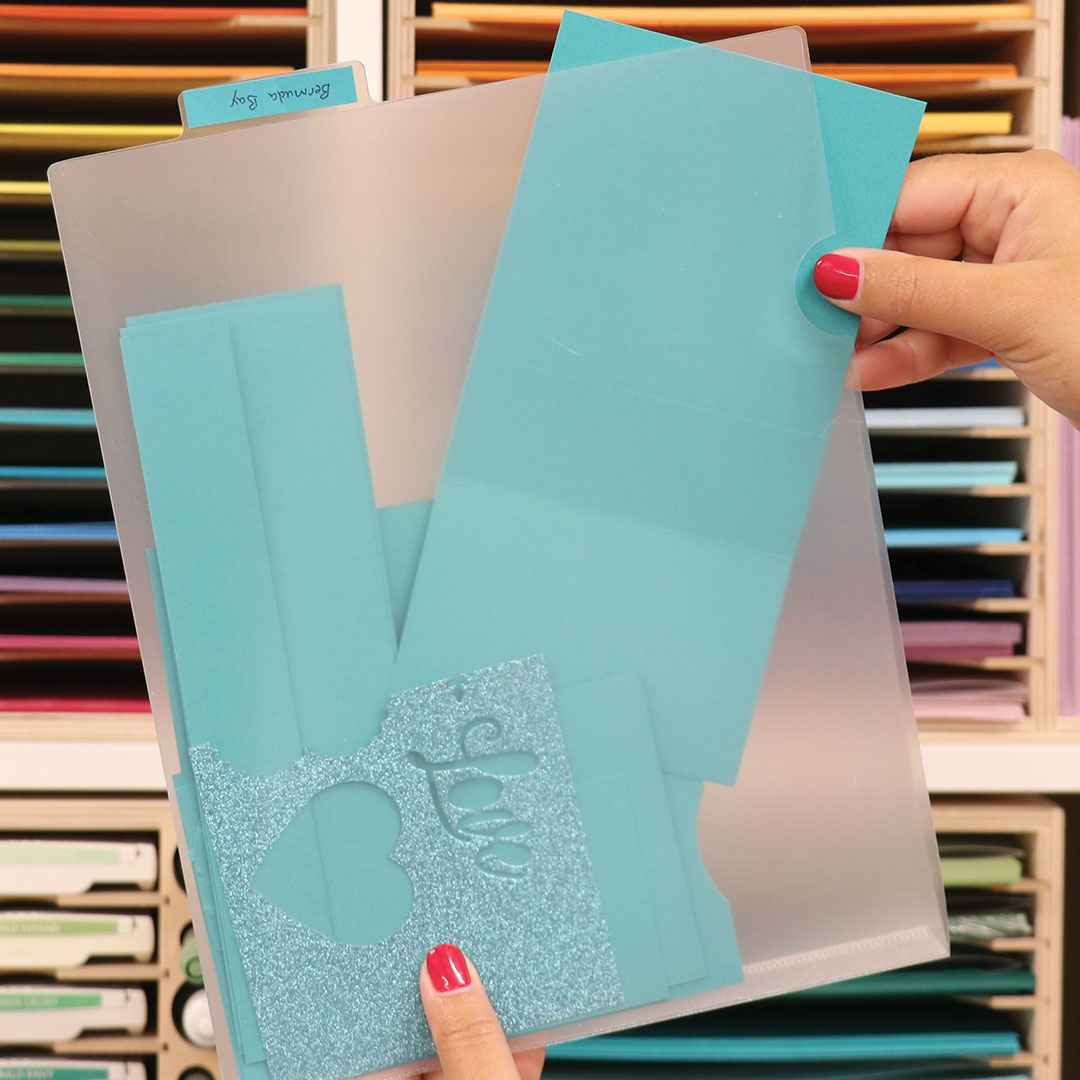
Keep Paper Scraps Organized in Paper Sleeves
Keep paper scraps organized at all times with Paper Sleeves. This not only helps keep your workspace clean, it also helps maximize your paper. By placing your paper scraps in a Paper Sleeve you eliminate the chance of extra clutter in your work area and it speeds up the time to find that perfect color from your scraps. You can also store your Paper Sleeves inside a Stamp-n-Storage Paper Holder, keeping your scraps and full sheets of cardstock together.
The key to keeping your space organized is implementing organizational tactics before you start to organize and following them while you craft. Find an organizational system that will work with your craft, space, and needs. Remember, an organization system is only as successful as it is maintainable. When you find a maintainable system, you will have no problem staying organized while you craft.