10 Tips to Go from Creative Chaos to Organized Bliss in 10 Minutes
It’s easy to get so overwhelmed by the mess in your craft room that you give up before you even start. Instead of looking at organizing your craft supplies as one big to-do, we’re here to help you break it down into manageable goals that you can check off as you go! Here are ten tips to help you get organized in ten minutes.
1. Give Everything a Spot
Suppose you are a messy crafter like me. In that case, you likely procrastinate cleaning and organizing your space until the last minute before company arrives, relatives visit, or you just can’t take it any longer. This usually ends in supplies being shoved into a miscellaneous drawer.
When you return to your crafting space to start a new project, you have to rummage through the drawer to find missing supplies and damaged pieces from your last project. This cycle will continue each time you craft unless you do something about it. In some cases you might even forget about the supply because out of sight, out of mind.
Say goodbye to that miscellaneous drawer and take the time to dedicate specific spots for each supply and tool. Each individual piece should have its own home. Organizing your supplies by type, color, frequency of use, brand, or season is a great way to start. This will help you simplify your crafting process and cut down on clean-up time.
2. Label it All
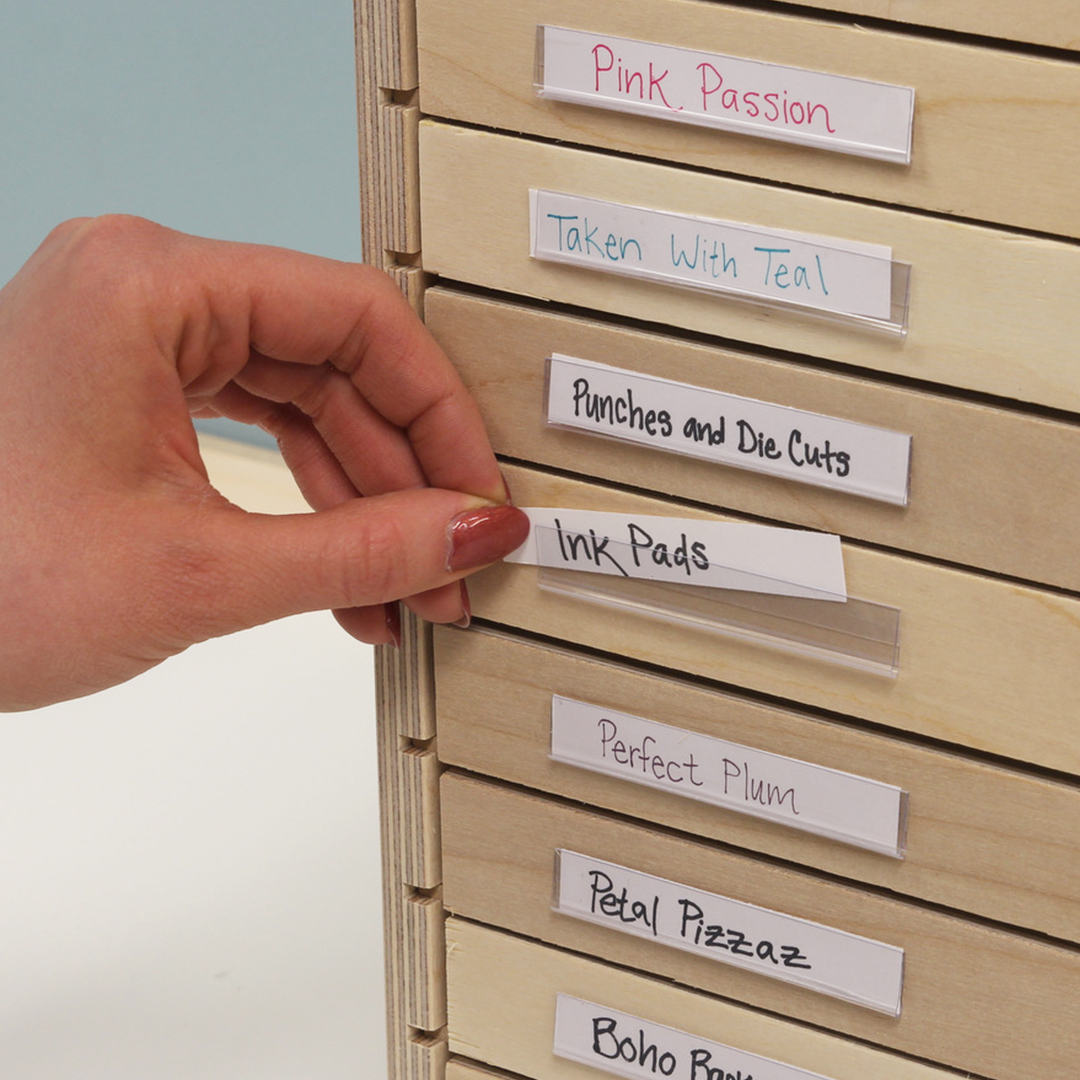
Giving everything a spot is ineffective if you don’t use labels. Labeling both your supplies and the place where they are stored is essential in maximizing the organization of your space. You can easily label drawers, storage pockets, paper shelves, crafty storage jars, and more with a standard label maker, color-coded cardstock, or peel-and-stick labels. Labeling your storage will make it easier to put supplies away quickly without trying to remember what is in each drawer, shelf, or crate.The Label Holder is a great option for your drawers because you can change out labels when needed.

3. Organize As You Go
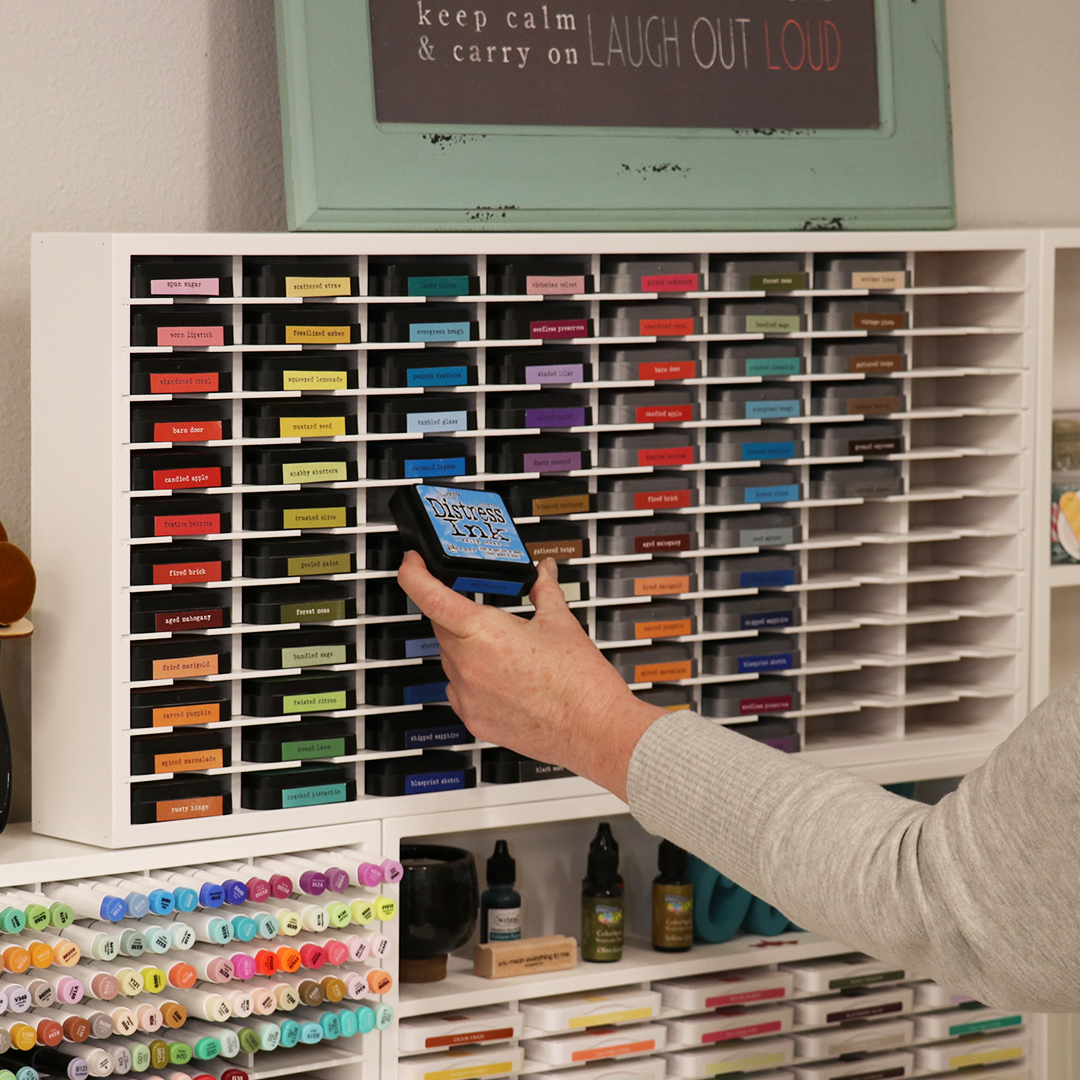
If you find yourself drowning in a pile of supplies at the end of a project, consider employing an as-you-go organization technique. As soon as you finish using an item, put it away! For example, don’t put all of your ink pads in a pile to be put away when you are done with all of them. Instead, put each color away in the Ink Pad Holder once it is no longer needed. This is easiest to do with the supplies that are stored on or in your desk because you don’t have to get up in the middle of your creative flow to put them away somewhere else in your space.
4. Keep it Close
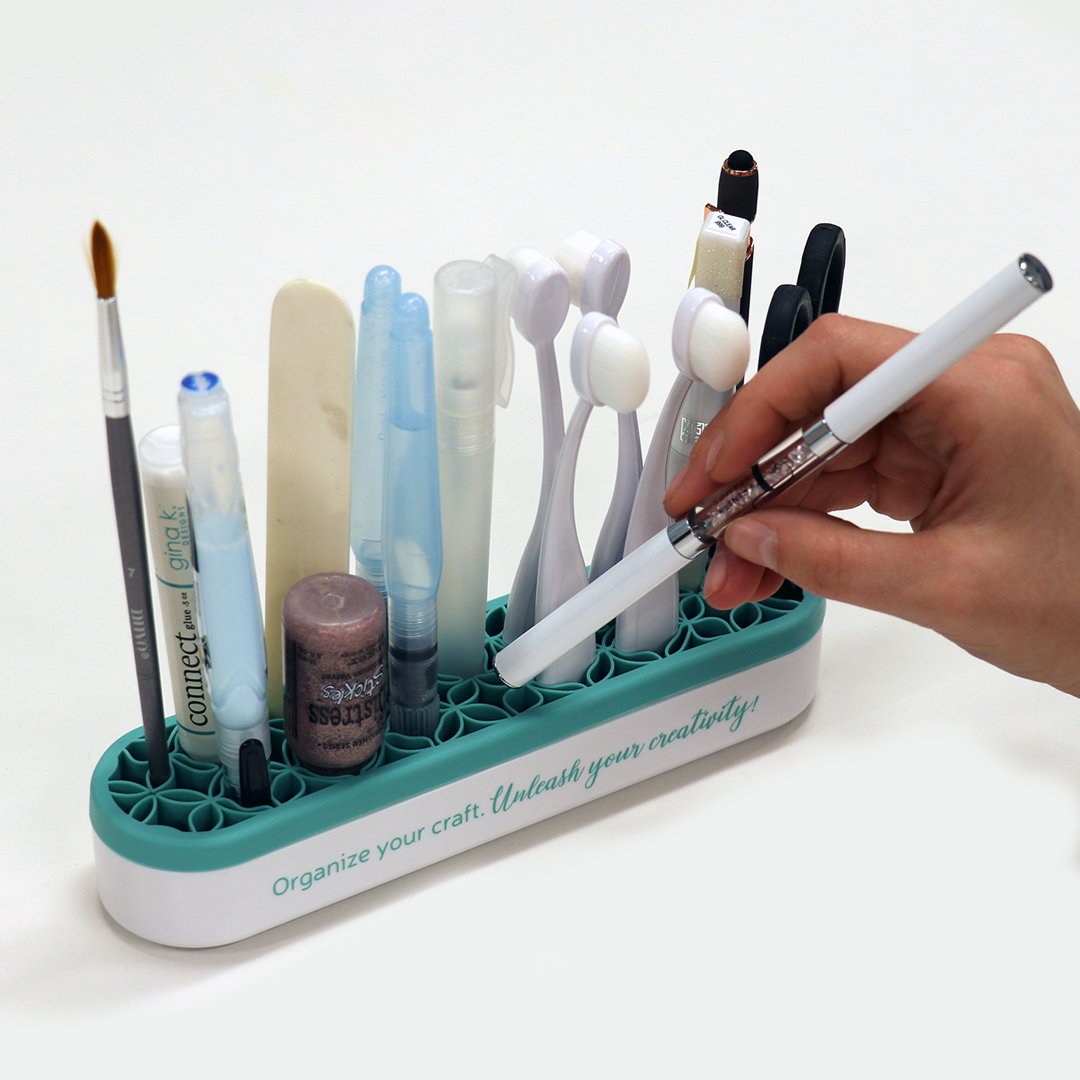
Take a moment to think about which tools you use the most when you craft. Are all of these tools kept together? How close are they to your main workspace? Keeping the tools you use most close to your work surface helps you to stay focused while you craft. Getting your space set up for crafting should be an enjoyable process, not a stressful one. Give your favorite tools a permanent spot within arms reach, and unleash your creativity without interruption. A Tool Tray or Desk Caddy is a great option for keeping your tools organized while you craft.
5. Plan for Paper Scraps
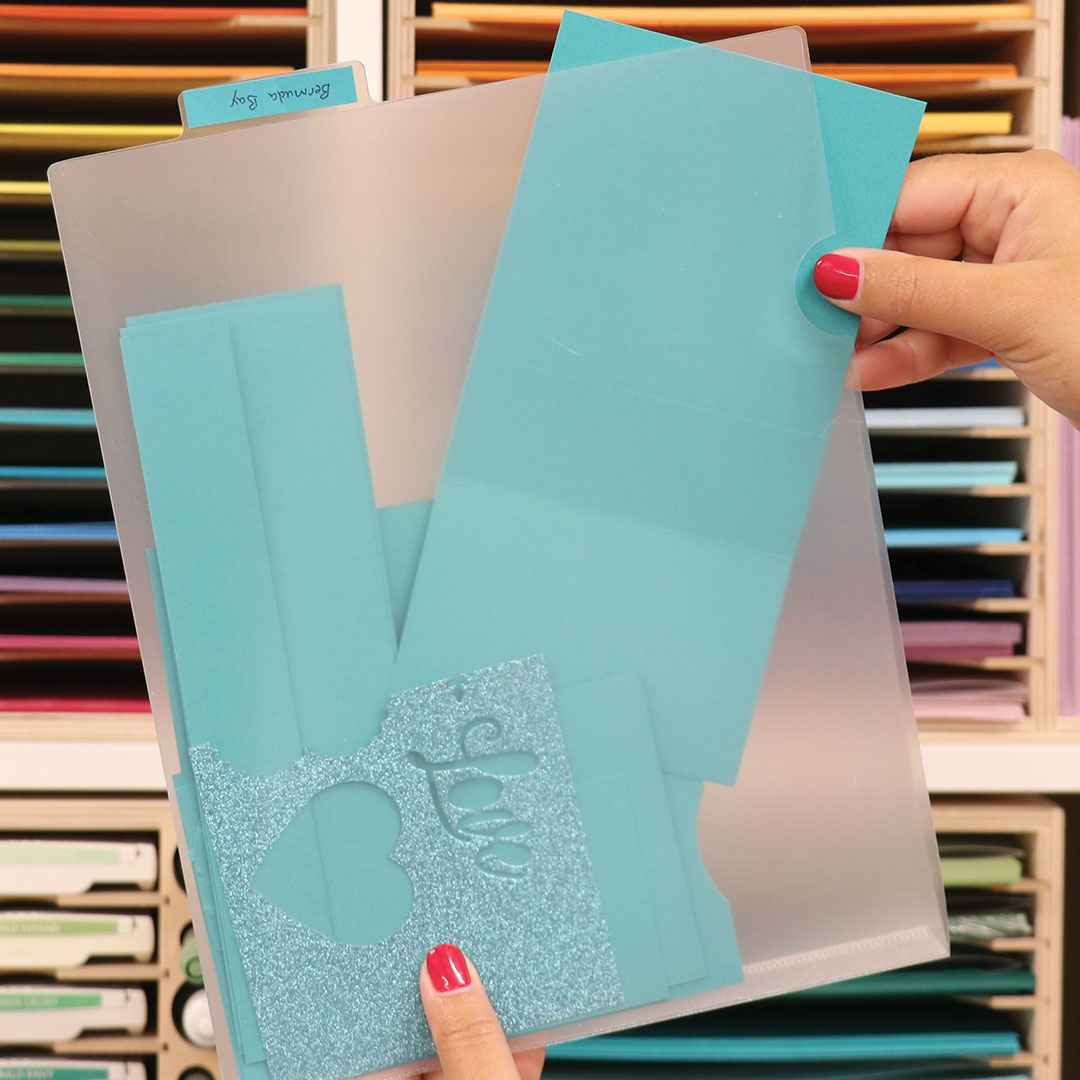
Deciding which paper scraps to keep and where to store them is one of the biggest challenges for paper crafters. Having a system in place to keep paper scraps organized and efficiently stored helps to eliminate this organizational roadblock. One great option for organizing paper scraps is in Paper Sleeves stored with the matching cardstock colors in a Paper Holder. Keeping your paper scraps with the full sheets of paper can help remind you to use up the smaller pieces before cutting up a new sheet. You can even store pre-cut card bases in your Paper Sleeves.
6. Take Inventory
When you start organizing your craft supplies, don’t forget to take inventory of the type and amount of each supply or tool you have. Archiving your supplies is beneficial for many reasons. First, it helps you to decide which pieces you should purge and which pieces you can justify keeping. Second, it helps you to remember where things are once you put them all away in different places. Third, it makes it easier to remember which supplies you are running out of and which supplies you rarely use.
It is especially important to archive and label your stamp and die sets. This will make them easier to find, and make you less likely to purchase stamps and dies that you already have hidden away somewhere.
7. Manage Waste
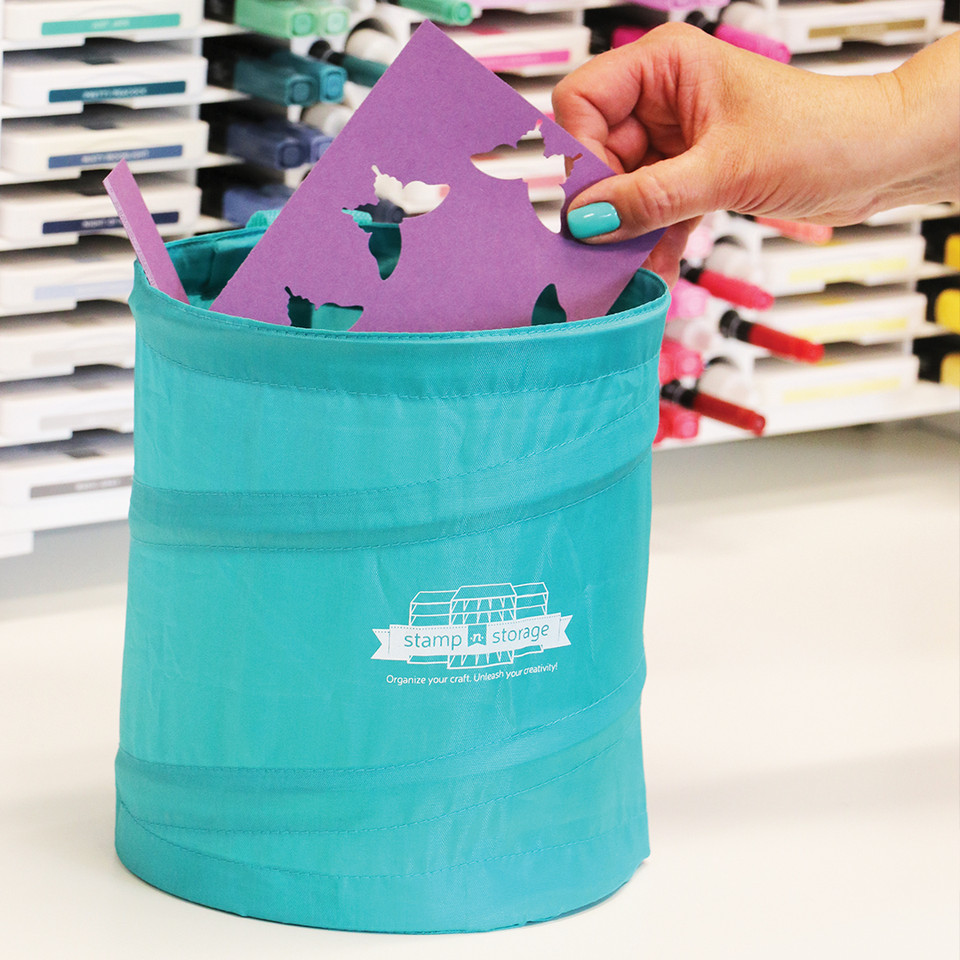
Have a Pop-Up Waste Basket nearby when you craft so you can immediately throw away things like the plastic film from adhesive backings or unusable scraps. When you are done crafting, dump the contents into a regular waste bin and then collapse the basket. Keep your Pop-Up Waste Basket collapsed flat in a desk drawer or right on your desktop for easy access.
8. Store Cleaning Supplies
Cleaning supplies like disinfectant wipes or sprays, paper towels, and handheld vacuums should also be stored in your craft space. Having a spot for these supplies makes it easier to remember to wipe down your work surface and clean up any excess materials when you finish working on a project.
9. Separate Active and Unfinished Projects
Your craft space can easily become cluttered when your unfinished projects and related tools and materials are spread across your work surface, floor, chairs, bins, etc. Starting a new project without finishing the last one you were working on is normal for many crafters. The issue with this process is that the unfinished project takes up part of your crafting space you could be using for your current one, and scraps and materials start creeping in and getting in the way. To combat this problem, consider storing all of the elements of unfinished projects in labeled folders, Paper Pockets, or drawers so that you can easily come back to them later and pick up where you left off.
10. Organize it Your Way
You are the person who uses your crafting space the most, so make sure your organization works for you! The way you organize and store your supplies should make your crafting process more efficient and more enjoyable. Putting away your crafting materials should be a straightforward process. If something doesn’t make sense, don’t feel bad about changing it. Figuring out how to work with your creative process and not against it is the most important part of organizing your craft and unleashing your creativity!
