Maralee R Studio – Phases II & III - June 2013
Many of you will recognize Maralee’s studio. She was the first winner of our Studio Showcase contest (see original post HERE). She did a great job getting her studio organized, and designed a portion of it around Stamp-n-Storage products.
One year later her studio is still one of the most viewed pages in our Studio Showcase and has received tens of thousands of views and MANY pins to Pinterest, along with glowing comments and some questions in our comments section.
Well, that was just Phase I! She has since completed Phases II and III, and sent us updated pictures earlier this year. In her note she answered many of the questions that had been posted and summarized the whole process.
Let’s turn it over to her!
*********
Dear Stamp-n-Storage -
This may be a long over due note but I once again want to send some picture of my finished craft room, inspired by Stamp-n-Storage. I just finished phase III….. my husband calls it the FINAL phase. We’ll see!
It all started with Stamp-n-Storage Ink pad and punch storage, a few Rubbermaid type drawers, sitting on a Costco table and I still needed more room. So I designed my room to make it work better. At first I was going to go to Lowe’s and buy ready made cabinets, but they are not cheep and then I needed someone to install them (my husband is not that handy). I ended up getting an estimate from a local cabinet shop (Haverna Cabinets, in Bend,OR) and they put my design to paper and fit everything in so neatly. That was phase I. I had sent pictures earlier.
Phase II, because I quilt besides stamp, I needed the right space for my machines and cutting table. They made that work.
Phase III was just finished. I had the grand idea for my ribbon rack, (the ribbon sits on the shelf with the dowel in front so ribbon is easily removed) and of course I needed more room for my Stampin’Up clear mount stamps and another Stamp-n-Storage unit. They made all fit in plus added the coffee bar in the little nook.
Now this did not come without a cost, but the shelving is made with the stuff used for garage cabinets so it was a little less expensive and in the end I got just what I wanted, all things very handy for making cards, working on the computer and doing small (6 people or so) classes. Love my room, what’s not to love. I hope I answered some of the questions that I have seen on the blog. Now get organized and keep on Stampin’
Maralee R
*********
Nicely done, Maralee! Enough chit chat, let’s get to the pictures!
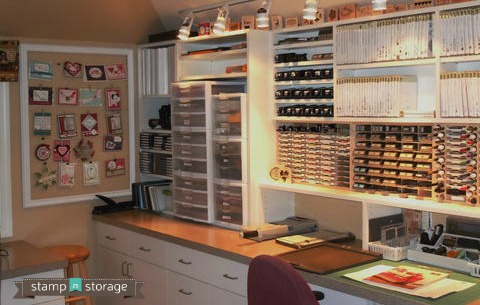
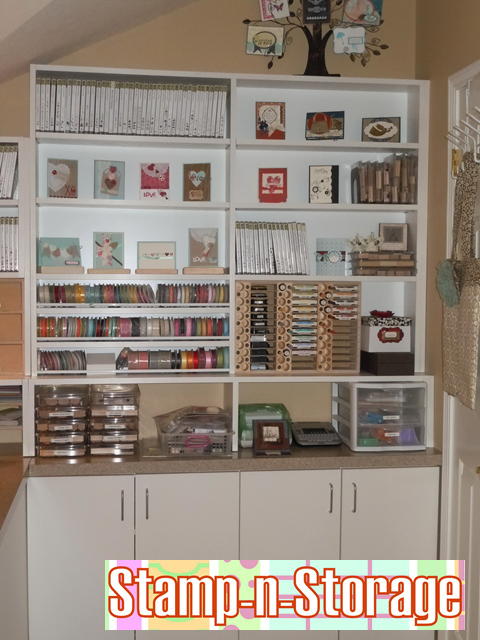
This is the main work area with plenty of counter top, TONS of stamp storage and space for a computer:
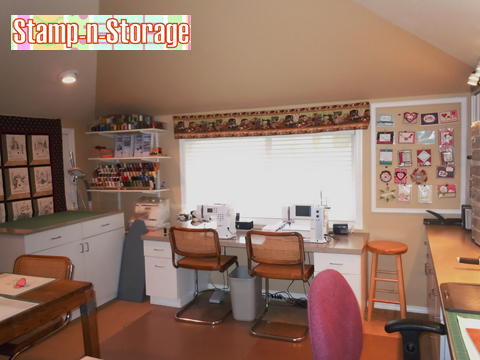
Turning a little more to the left and we see her quilting area:
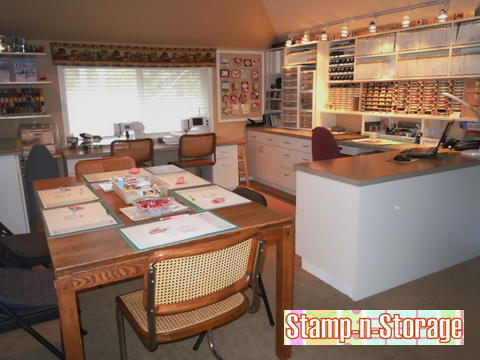
Stepping back a bit and we can see more of the room and the table for her classes:
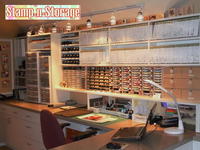
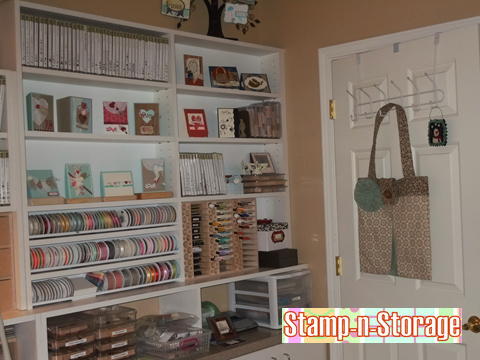
By the door is this neat little space with more cabinets for displaying cards, storing stamps and ribbon and the perfect spot for a 36 Combo Holder!
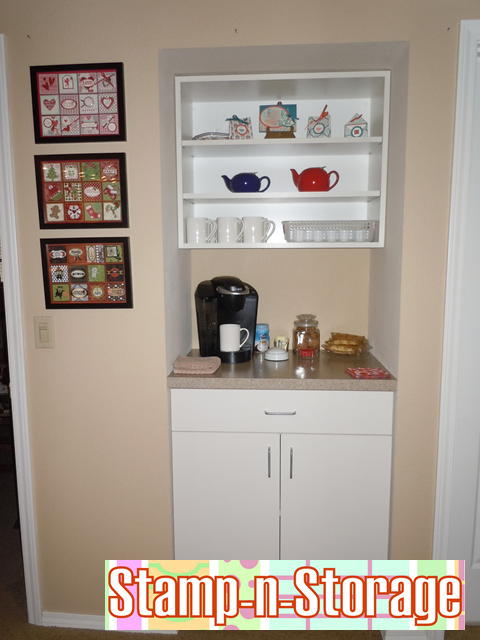
Perhaps most importantly: The coffee nook!
Great job, Maralee! Keep on stampin’, indeed!
Well? What do you think? Let us know in the comments.