5 Tips to Organize your Paper!
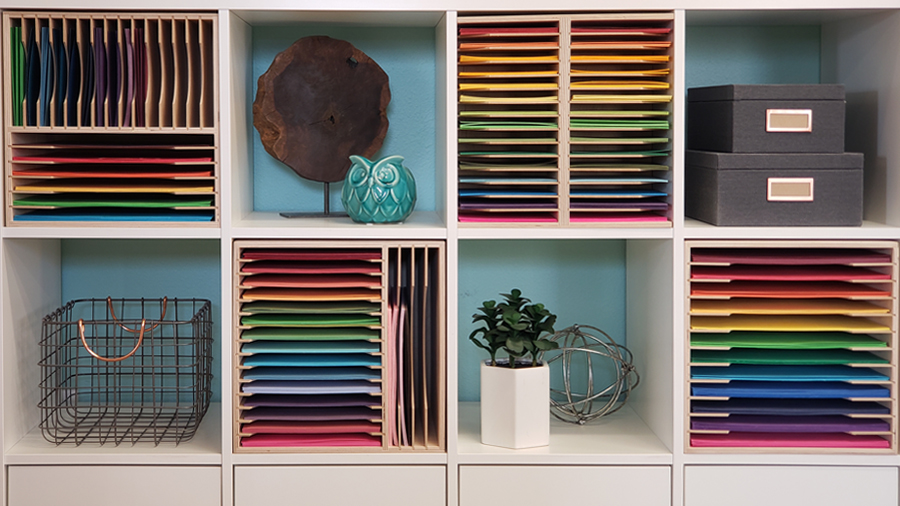
We all love paper! The beautiful rainbow of colors, patterns, creative designs, metallics, and let's not forget the papers that sparkle with glitter. Paper is fun! However, storing and accessing paper can be challenging and frustrating. Where do you store your paper? How do you organize designer paper? What about sunlight? What do you do with those scraps? Here are five tips for organizing your scrapbook paper.
KEEP IT PERSONAL
When organizing your paper it is important to understand what works for your friend might not work for you. Organizing is personal and you have to do what works best for you. When deciding if you should organize by color, theme, pattern or brand, consider what makes the most sense in your mind. It might make sense to use one system for solid colors, and another for design paper. Our favorite way to organize scrapbook paper is by rainbow color for solid colors, and by theme for design paper.
CONSIDER THE NEEDS OF YOUR SPACE
In addition to your needs, also need to consider the needs of your space.
- How much room is available for organizing paper?
- Is that available space on the wall, floor or desk?
- Do you have open space on shelving units?
- Is our craft area confined to our desk because it is a shared space?
KEEP IT VISIBLE AND EASY TO ACCESS
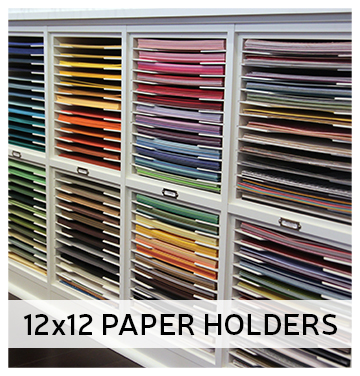
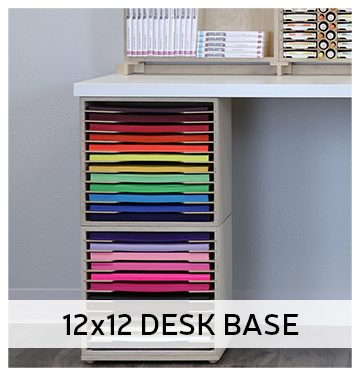
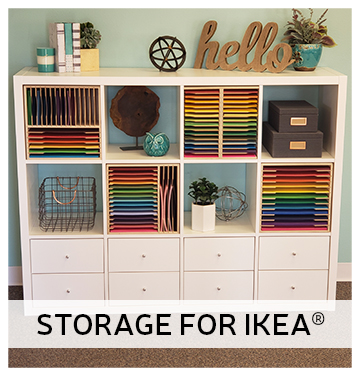
Keeping your paper visible and easy to access often means you will use your products more. It goes back to that old saying "out of sight, out of mind." Stamp-n-Storage offers a variety of products to keep that beautiful rainbow of colors displayed in your craft space. You can choose an option that fits the needs of your space. The standard Paper Holders (12x12, 8.5x11, 6x6) are great for sitting on a desk or in a cabinet. Desk Bases sit under your work area maximizing the space below your desk. Storage for IKEA® offers options that fit inside cube shelving units like the IKEA® Kallax.
"Pure Perfection ★★★★★
I
bought both the 8.5x11 and the 12x12 Paper Holders. Can I just
say they ROCK! I love being able to have my paper organized and ready
at my finger tips without having to hunt through a whole pile of paper.
Now I can look at my labels and go right to what I want. Love love love
them!"
-Heidi B.
LABEL IT
One of our favorite things at Stamp-n-Storage is labeling! When you label something it has a specific home. You are not going to throw your vibrant turquoise paper into the espresso slot. Having a label forces you to return it to its proper place. Labeling your design paper helps you to quickly find your designs keeping them neatly organized in a way that works best for you. Stamp-n-Storage offers two fun labeling techniques for your paper.
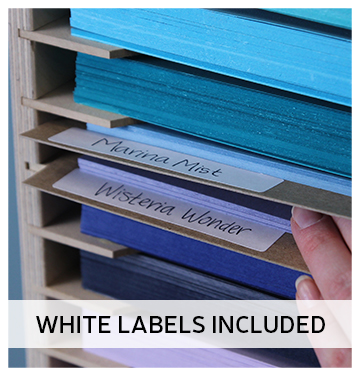
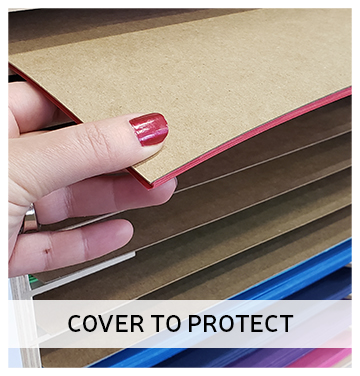
The Paper Holder Label System is a great way to keep your paper organized, and it acts as a divider so you can add more than one color or design to a slot. Because the Paper Holder Label System extends out further than your paper, you have the perfect amount of space for labeling. Plus white labels are included with every pack. This system also protects your paper from sunlight when you use the Paper Holder Label System as a cover on top of your paper.
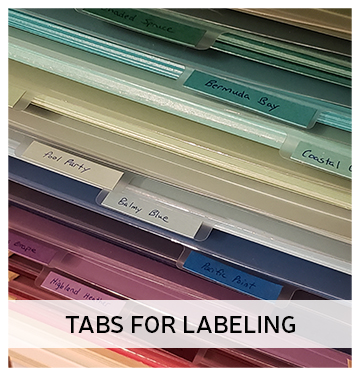
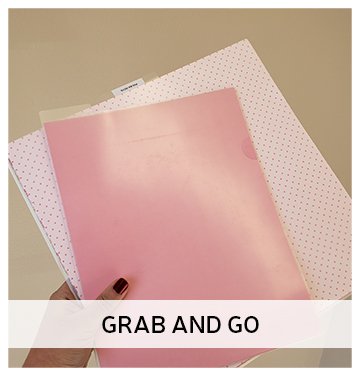
The Paper Sleeve has several benefits when organizing your paper. The tabs are perfect for labeling and 3 sizes are available to fit your 12x12, 8.5x11 and 6x6 Paper Holders. You'll even find a finger notch on each sleeve to give you quick and easy access to any paper inside. These are a great option to grab and go. Just place the amount of paper you'll need for a crop inside a Paper Sleeve to take with you. Your paper will be protected on the journey, plus you will keep your paper organized on the road making it easier to return your supplies to their proper place once you are home.
ORGANIZE YOUR PAPER SCRAPS
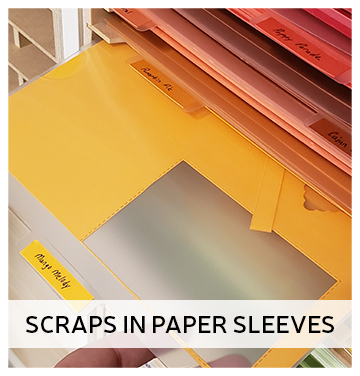
We all have them and lets admit, they are so hard to throw away. When we asked paper crafters about the biggest challenge to organizing their craft space, paper scraps was a clear winner. What do you do with all the pieces? Half the time you forget you even have them so they never get used on a project. So how do you keep your scraps organized while in a place you remember to use them? Put them in a Paper Sleeve on top of your paper! This way your scraps and full sheets will always be together, and you won't forget to use those scraps.