
5 Steps to Go From Cluttered to Creative
Make Space for Joy
It’s easy for even the most dedicated card makers to feel a little overwhelmed by mid-year clutter. With new supplies piling up from summer releases, it’s the perfect time for a gentle refresh. It’s time to find what you love faster and get back to creating. We’ve curated a list of five steps to help you crush the clutter and reset your creative flow.
Step #1 - Reassess What You Use Most
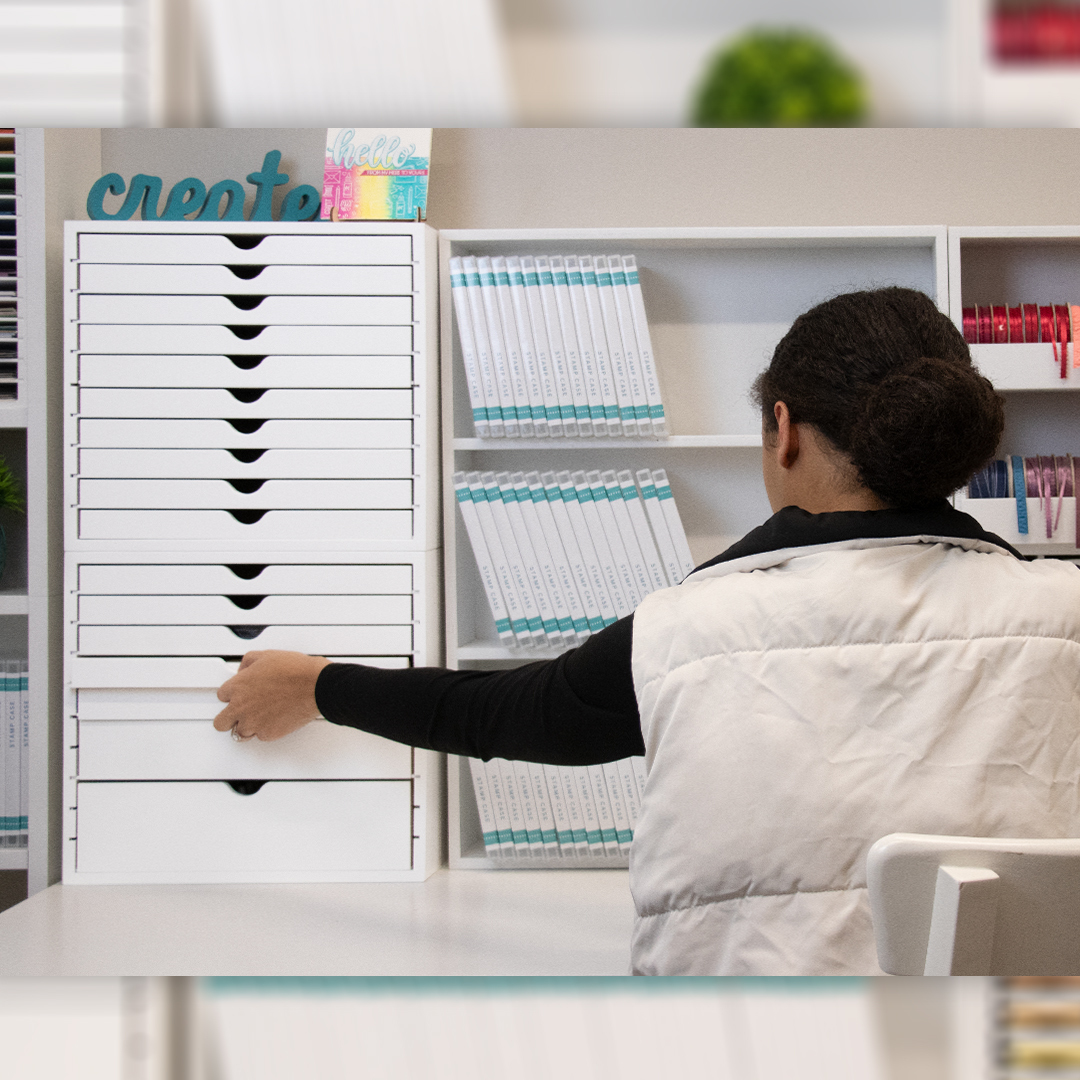
Before you jump in and start decluttering, take some time to scan your current work zone. Consider which supplies you reach for all the time and which supplies are just collecting dust. Once you have identified your most-used stamps, dies, inks, embellishments, and tools, it’s time to give them a home. Create a “prime zone” for your favorite supplies, and keep it close to your main work surface. Keep your supplies organized and in reach using the DeskMate Drawer Cabinet. Perfect for storing your favorite tools, accessories, ink cubes, and refill bottles, the Deskmate will be the crafty companion your work surface has been waiting for.
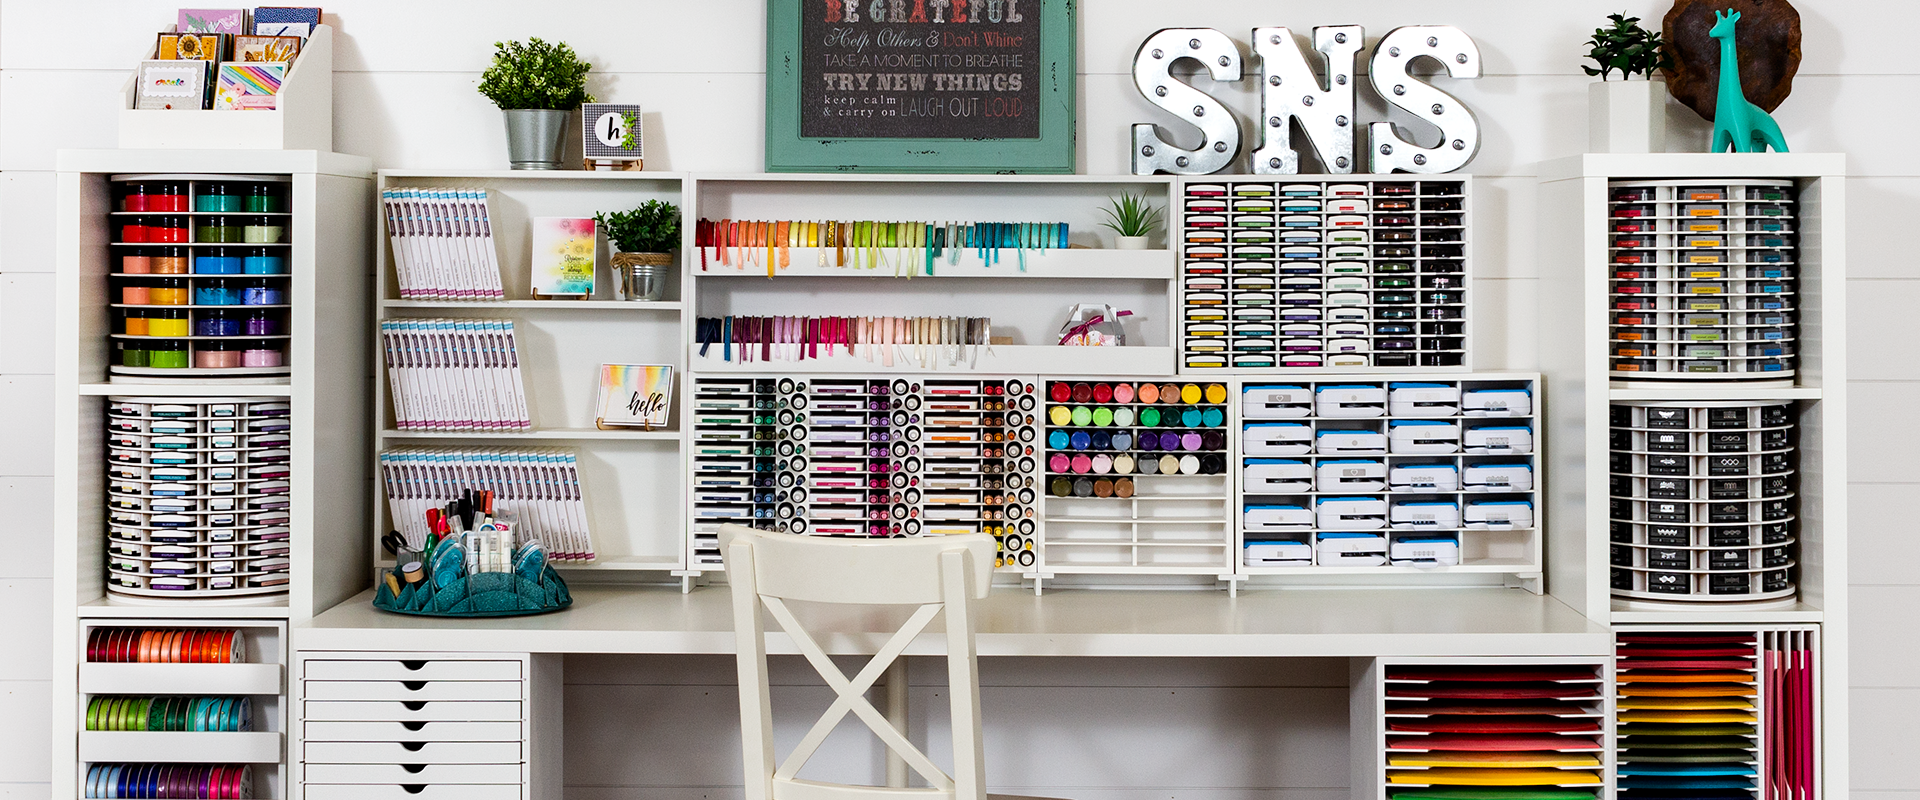
Step #2 - Refresh Your Card-Making Zone
Picture the perfect place to make beautiful cards. It’s clean and bright, with room to move, nothing in the way, and everything has a place. Bring your space one step closer to this dream setup by starting with your main crafting spot and working outward. First, organize what is right in front of you, then expand to each corner of your space.
Step #3 - Create a Quick-Clean System
After you finish working on a long, complex project, cleanup can feel like an impossible task. To simplify your cleanup process, focus on giving each supply a home. Be sure to label your Drawer Cabinets, Storage Pockets, Stamp Cases, and more, so clearing your work surface becomes an automatic part of your creative flow. Use printed labels or colored cardstock in Label Holders to identify your supplies by name or color family.
Step #4 - Celebrate Small Wins
Organization is an ongoing process, and it’s important to celebrate your small victories whenever you get the chance! Remember, even a single organized shelf or bin can boost your creativity and streamline your creative process. Motivate yourself by taking before and after photos, or sharing your recent organization milestones with a crafty friend. We’d love to watch your space transform, too! Share your refresh with us on social media @Stamp-n-Storage or email us your photos at contact@stampnstorage.com.
Step #5 - Keep Space for Projects in Progress
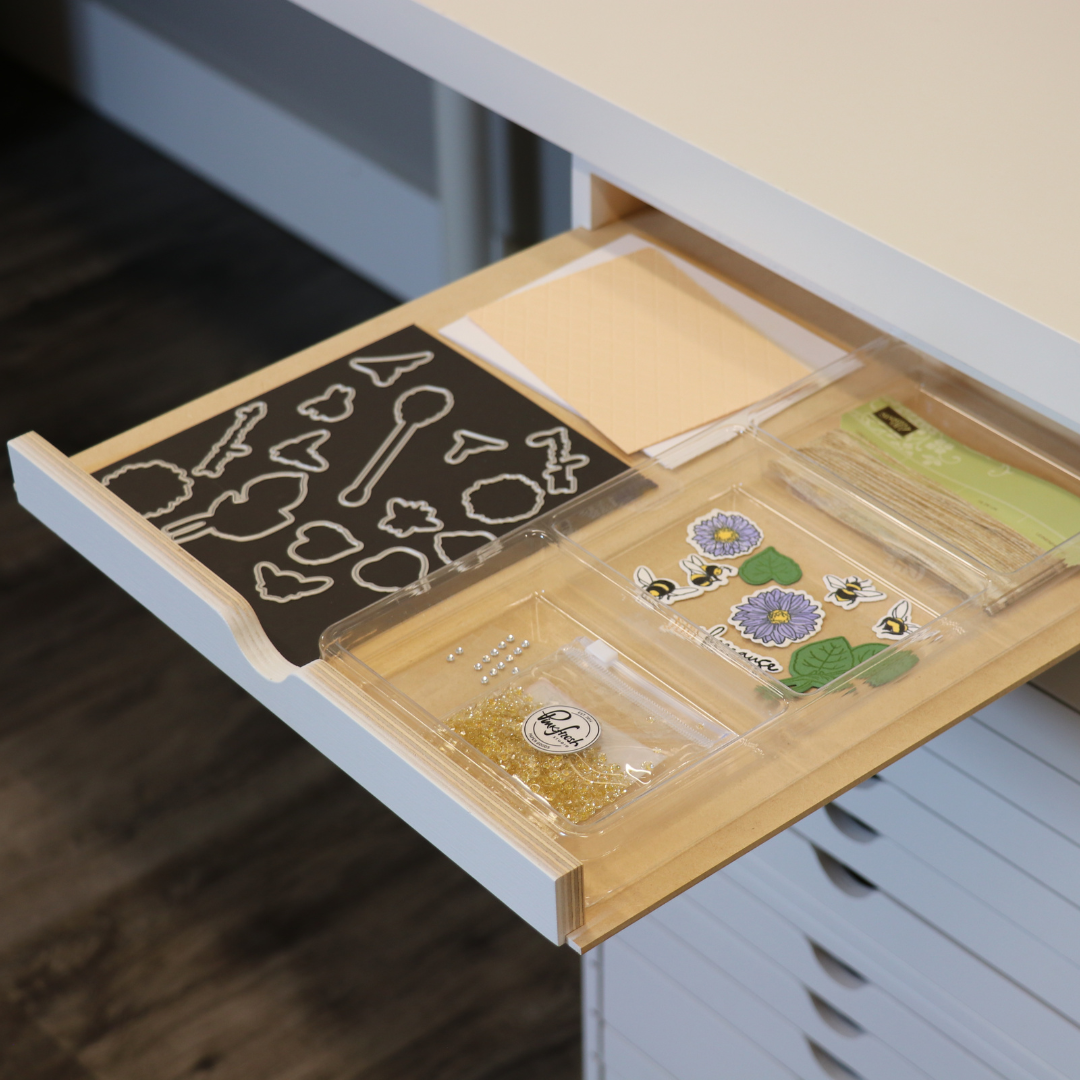
When you have to stop working on a project midway through, and you need to clear your craft desk for guests coming over, where should you put everything away? The key to organizing your projects in progress is designating a place for them somewhere in your craft space. Choose a drawer, bin, shelf, or crate to keep your unfinished projects safe and accessible. Be sure to label each project and consider creating a timeline for when to finish each one.
Your Creativity Deserves Space
A tidy space isn’t about perfection—it’s about permission. Give yourself permission to play and enjoy being creative in a space meant just for you! By implementing a few small changes now, you can make the second half of your year even more crafty and extra joyful.