How to Organize Craft Supplies in an RV
Take Your Craft Projects On-The-Go
Travel trailers and RVs are great for those outdoor adventures and camping getaways. You can quickly hit the road and travel across the country while still feeling at home in the comfort of your trailer. But what about those rainy days when you are stuck inside for an extended period? These are the perfect moments to relax and craft! After all, isn't that what camping is all about?
Bringing your craft supplies on the road is easy. It just takes a bit to organize your craft supplies in a small space in a way that maximizes your limited storage space. Here are seven tips for organizing your travel craft storage supplies in your travel trailer, 5th wheel, or RV.
- Make the Best Use of Small Drawers and Cabinets
Take a look around your travel trailer and see if there are any unused drawers or skinny cabinets not being utilized. Some of those odd nooks and crannies can serve as an excellent storage space for your craft supplies. If you can't find any empty spaces, this could be an opportunity to reorganize. You'll be surprised how much space you gain from just rearranging things and de-cluttering. 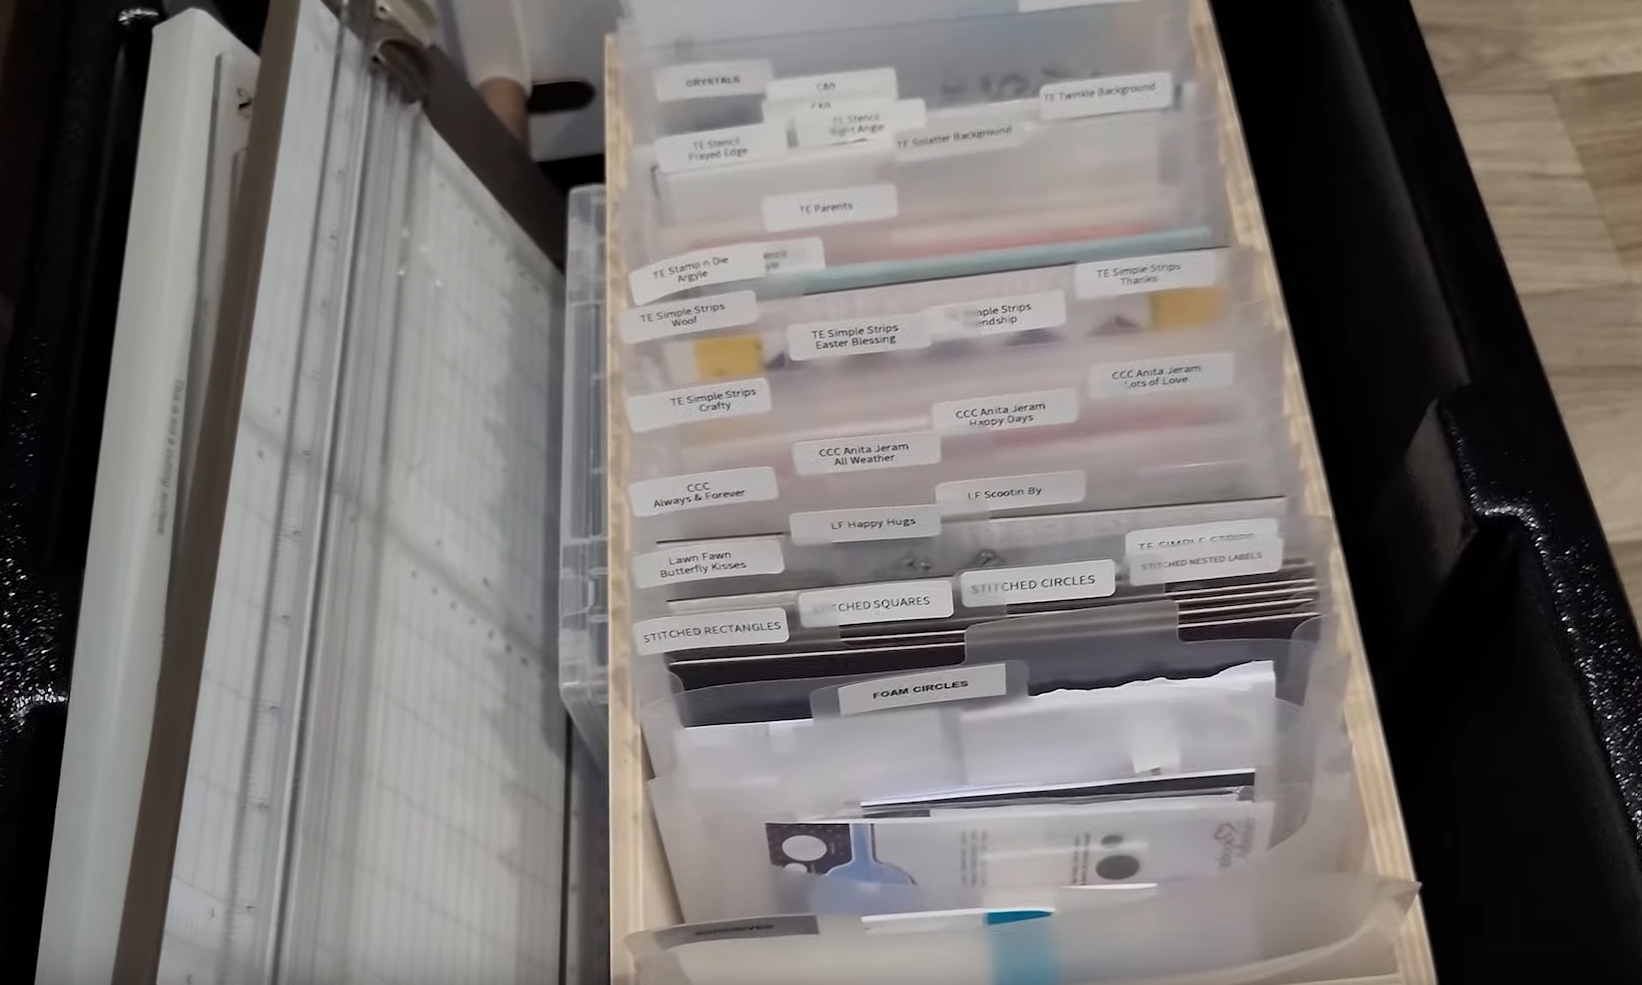 Designate a Craft Crate
To keep your crafting items together, it's a good idea to have them in a container or box rather than just throwing them in a drawer. For example, the Creative Crate is an excellent option for organizing stamps, dies, and embossing folders. When used with the Storage Pockets, Stamp Cards, and Magnet Cards, you can label your stamps and dies for quick access. The Creative Crate is also an excellent option for embossing folders, adhesives, and embellishments. Crafters from everywhere love this crate from Stamp-n-Storage because it's sturdy and well-built with a grooved bottom for non-slip storage. The Creative Crate will help solve your organizational dilemmas, allowing you to organize various projects and supplies all in one place.- Use Plastic Sleeves with Labels for Storage
When on the road, Storage Pockets with tabs for labeling are a must! These handy craft pockets are great for storing several essential things like adhesives, stickers, embellishments, and more. The Storage Pocket is also the perfect size for organizing and labeling your stamps and dies together in a small amount of space. Just add your dies to a 6x7 Magnet Card and your stamps to a Stamp Card, slide them into a Storage Pocket and label the tabs. Retrieving what you need will be so quick and easy! - Choose a Portable and Lightweight Marker Storage Solution
Certain supplies are difficult to duplicate to save time packing and unpacking. It's easy to have two pairs of scissors, one at home and one in your trailer, two tape runners, etc. However, markers are expensive and probably not something everyone can double up for multiple locations.
Marker storage solutions by Stamp-n-Storage are portable and easy to move around. Instead of trying to decide between marker colors, grab your entire Marker Stand or Marker Holder for Stampin Blends. Its compact and lightweight design makes it easy to slide into those narrow trailer cabinets. Be sure to check out all Stamp-n-Storage Marker Storage solutions for an option that best fits your needs.  Bring your Ink Cubes instead of your Ink Pads
Ink pads are a must for your card-making projects. However, large pads take up a lot of room. Don't be limited to a few colors. Instead, consider bringing your mini ink cubes on the road. With the Ink Cube Caddy you can organize a complete set of ink colors in a small amount of space. The caddy is easy to store with its stackable design that keeps a small footprint in your cabinet or on the table while you're unleashing your creativity.- Choose a Compact Paper Storage Solution
Cardstock is the foundation of every paper crafting project. Organizing your paper can be challenging when you are limited on storage space. The Paper Holder Add-on (12x12 | 8.5x11) is a great way to organize your paper in smaller quantities. Its compact size makes it an excellent option for travel trailers. Instead of using a slot for each color, limit your paper selection by organizing color themes in each slot (ex. all green shades in a slot, red shades in a slot, etc.) Add one Paper Sleeve per slot to keep any paper scraps organized. - Use 8.5x11 Magnet Cards for Large Dies
Another idea for organizing dies is storing them on 8.5x11 Magnet Cards. These Magnet Cards are hole-punched and perfect for adding to a binder. 8.5x11 Magnet Cards are an excellent option for slimline dies, large die sets, or dies that don't coordinate with a stamp set. Simply flip through the Magnet Card pages to find the perfect die for your project.
With these simple travel craft storage tips, you'll be ready for those rainy days in your trailer. So pull up a chair, grab a cup of coffee and enjoy some paper crafting time now that you know how to organize craft supplies in a small space.